
The Indoor Camping Party Guide

January 01, 2015
Mid-winter birthday party ideas are hard to come by, and without a game plan, things can quickly unravel (along with your house). Just because you can’t go outside doesn’t mean you can’t bring the outdoors inside! Ever tried throwing an indoor camping party? It’s pretty in-tents. The kids will love how fun the setups are—and so will you, especially since they won’t break the bank!

Fort party time

Time to turn your home into a campsite. Make “setting up camp” a fun party activity by challenging your partygoers to a fort building competition! Kids are pretty great at making forts, but just in case you need some inspiration, we’ve collected a few easy, somewhat failproof guides, all using household items. Or, tap into your own knowledge of fort building from days past! Better yet, get in on the competition and try your hand at making a tent! You’ll be pleasantly surprised how quickly it’ll come back to you. Fort party time
The Indoor Camping Party Guide


Under the table fort
Materials

  • Two sheets
  • Pillows
  • Large table (i.e. kitchen table)
This one’s real easy—just drape two huge sheets over a table! Make the sheets longer in the back to create a back wall and cross the sheets in the front to make a door. Use pillows to secure the “walls” and clothespins to embellish however you want!

Chair fort
Materials

  • Chairs
  • Sheets
  • Pillows
  • Clothespins
  • Books
  • Broomstick (optional)
Arrange your chairs in a circle. Use clothespins or rubber bands to secure a sheet over the chairs (for your roof). To create “walls,” pin another sheet to the bottom of the “ceiling sheet” so that sides of the chairs are covered. If you want to make your fort taller, stick a broomstick in the middle and secure it with pillows (be sure to use a bigger ceiling sheet if doing this).

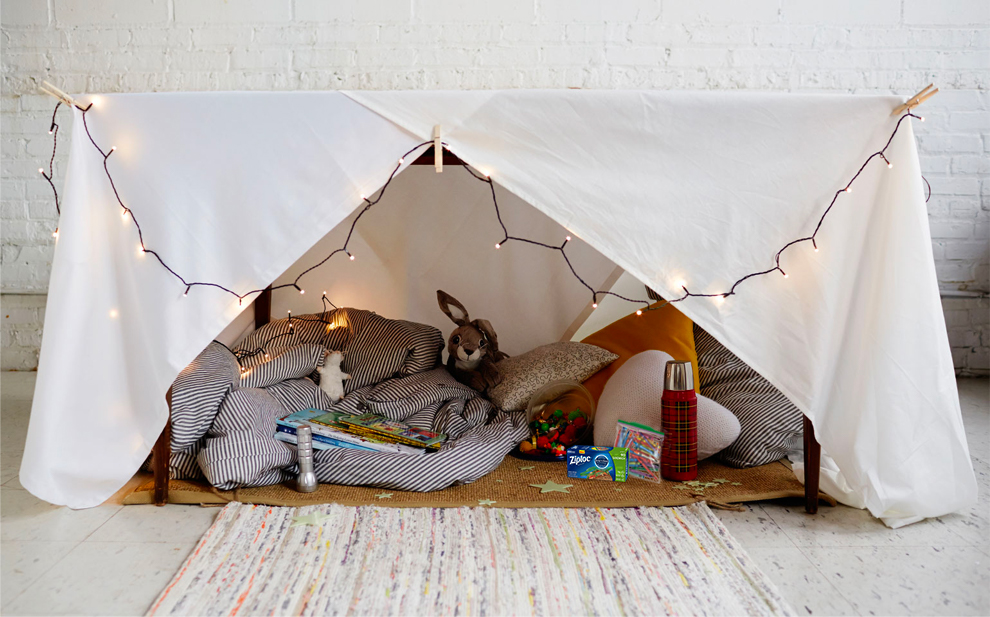
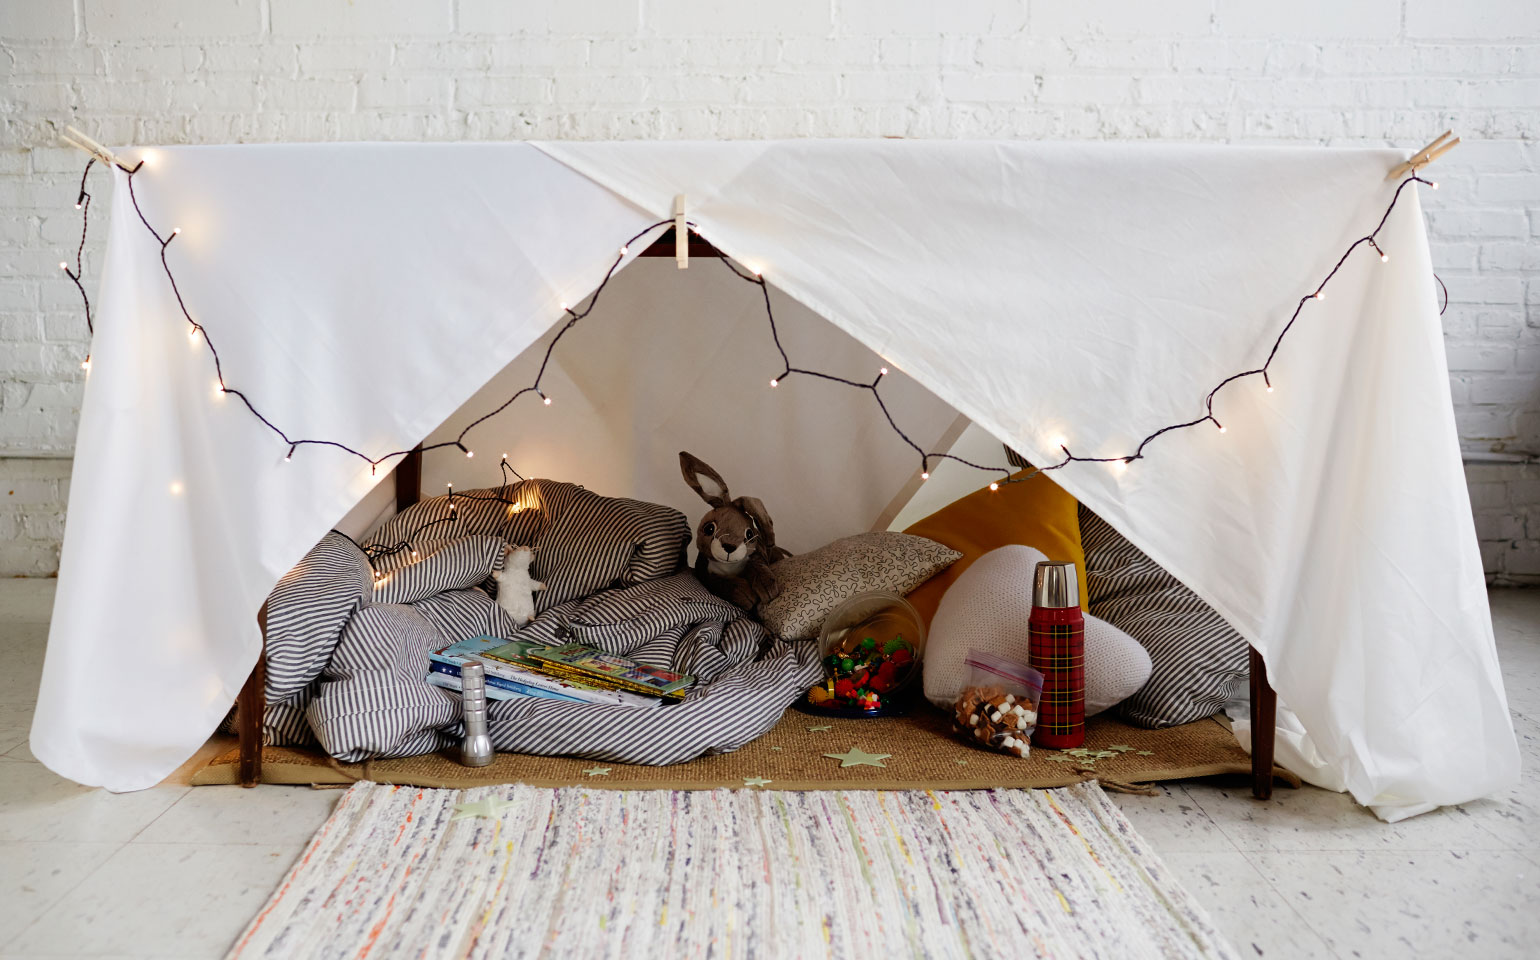
Clothesline teepee tent
Materials

  • Clothesline
  • Picture hanging hooks
  • Sheets
  • Books or clothespins
  • Pillows

Adhere picture frame hooks (preferably the sticky ones) onto opposing walls and tie a clothesline to the hooks. Then drape sheets over the line to create several teepees. Secure the bottom of your tent to a rug or blanket with clothes pins to keep your sheets, or “walls”, from blowing around. Chairs and pillows can be used to make partitions between tents, if needed.

Outdoor tents

If your family is big on camping and you happen to have your own outdoor tents, just use those! Modern tents don’t use stakes and don’t take much to put up so they’re perfect for living room camping. Just keep the size of your “campsite” in mind—might we suggest using a 1-2 person sized tent? :)
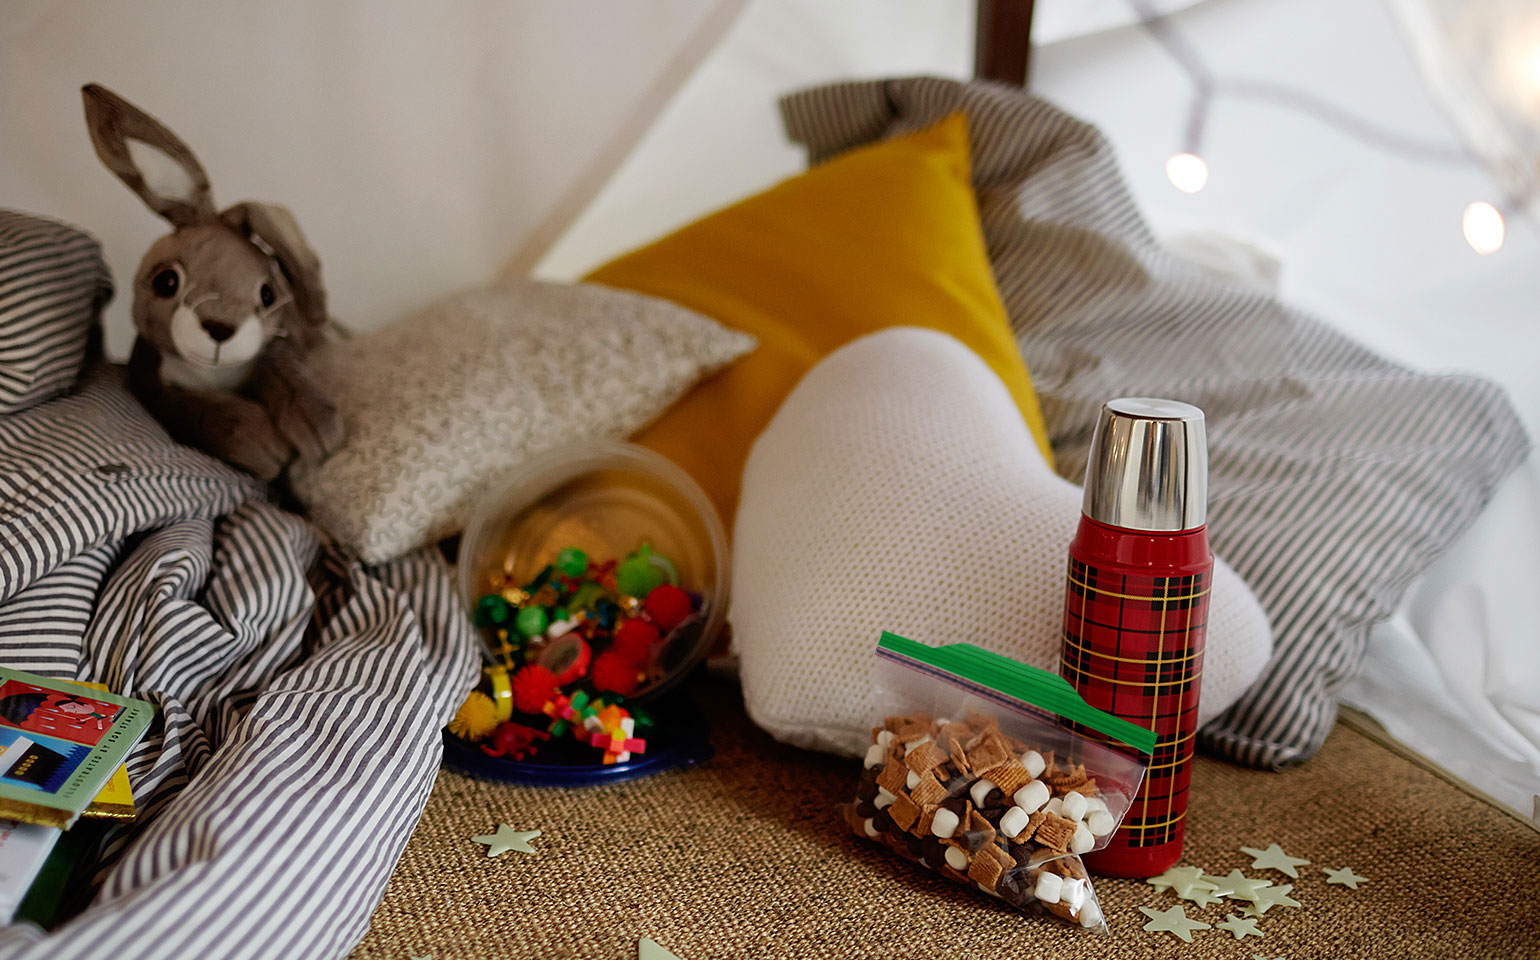
Bonus tent decor

Buy glow in the dark stars so kids can decorate the “ceilings” of their tents. Extra credit if they can make constellations! Or provide construction paper and markers so they can make an epic sign for their fort with their epic fort name.
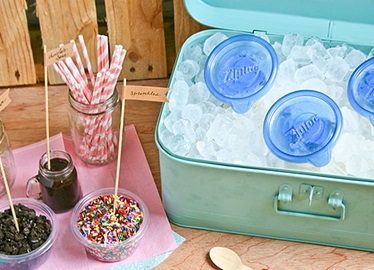
Some more s'mores mix

Just because you don’t have a campfire doesn’t mean you can’t enjoy some s’more-esque treats! Try this s’more trail mix to get into the camping spirit. Divide the mix into snack size Ziploc® brand bags, and your campers can munch on the mix in their tents. Full Recipe Some more s'mores mix
The Indoor Camping Party Guide
Combine in a large bowl and mix together. Then separate into individual snack size Ziploc® brand bags. Start with equal parts everything and alter amounts based on what you want more of!

DIY lanterns

For some low-key mood lighting, or for those guests who are afraid of the dark, place a strand of battery operated lights in mason jars and place around your campsite. To add a warm touch, fill the mason jars with colored tissue paper, like orange or yellow. Or use green to make it a little spooky! DIY lanterns