
Materials
- 1 pack of 12 inch bamboo skewers
- Painters tape
- Scissors
- Ruler
- Hot glue gun
- Mirror tiles
- 1 large mirror
- 1 medium-sized mirror
- White acrylic paint
- Pencil
- Paint brush
- For the small spokes, we cut:
- 5 eight-inch skewers
- 10 six-inch skewers
- 10 four-inch skewers
- 10 two-inch skewers
- For the Large spokes we cut:
- 10 ten-inch skewers
- 10 eight-inch skewers
- 10 six-inch skewers
Directions
-
1
Tape the mirror
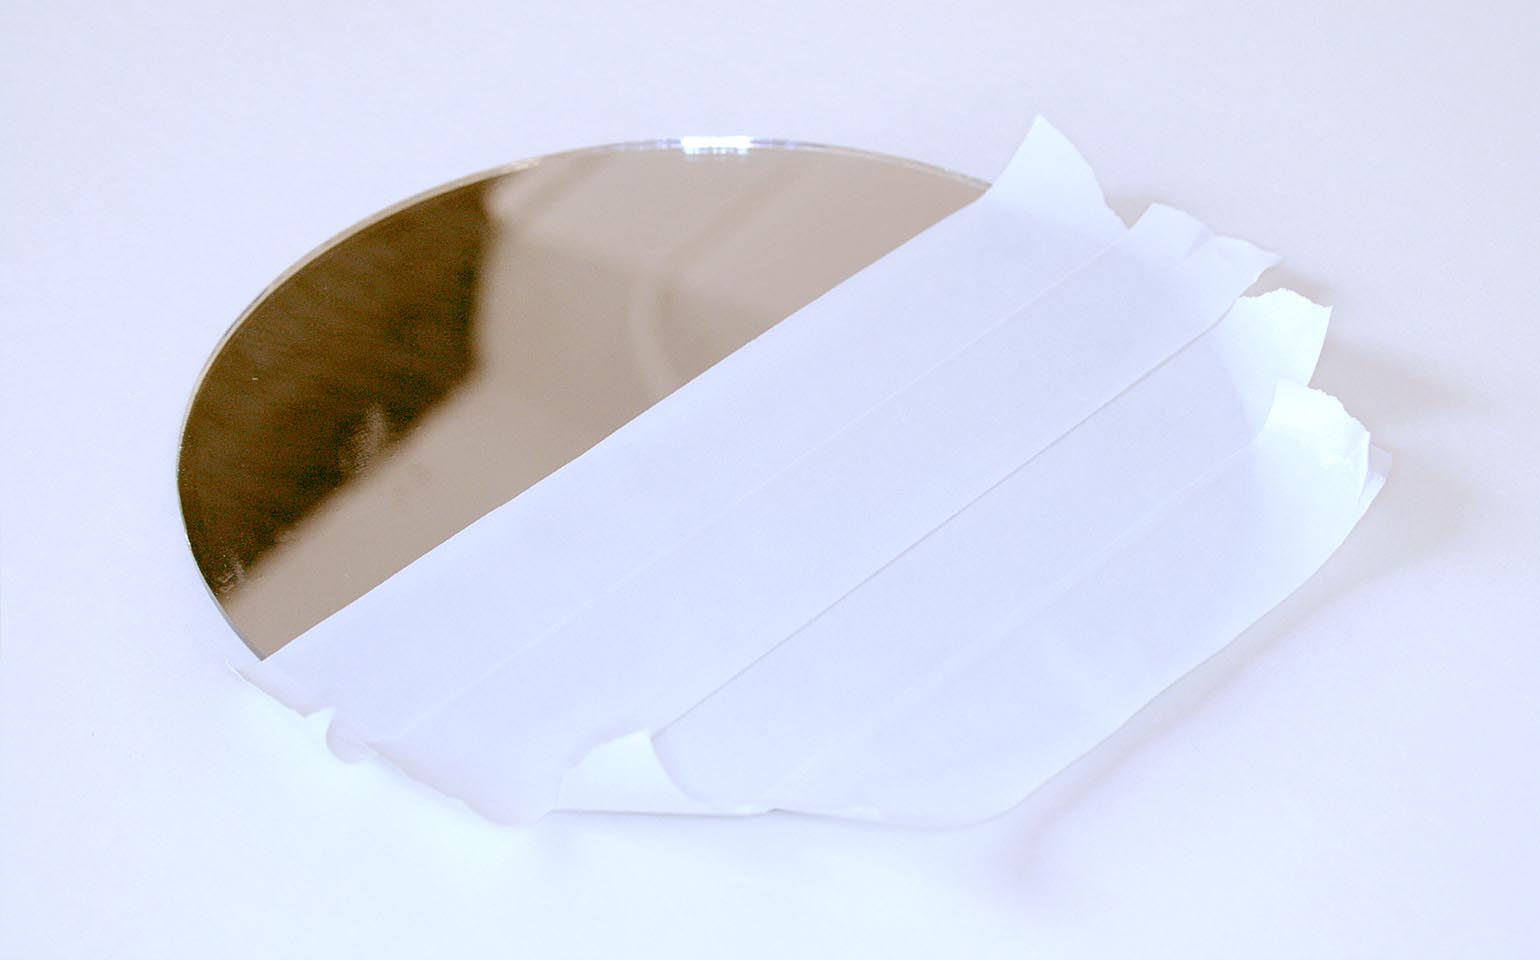
Cover the mirrored side of the large mirror with painter’s tape. Trace along the edges with a pencil and cut the tape to create the perfect fit. This will prevent any paint or hot glue from dirtying the mirror.
-
2
Plan out your design
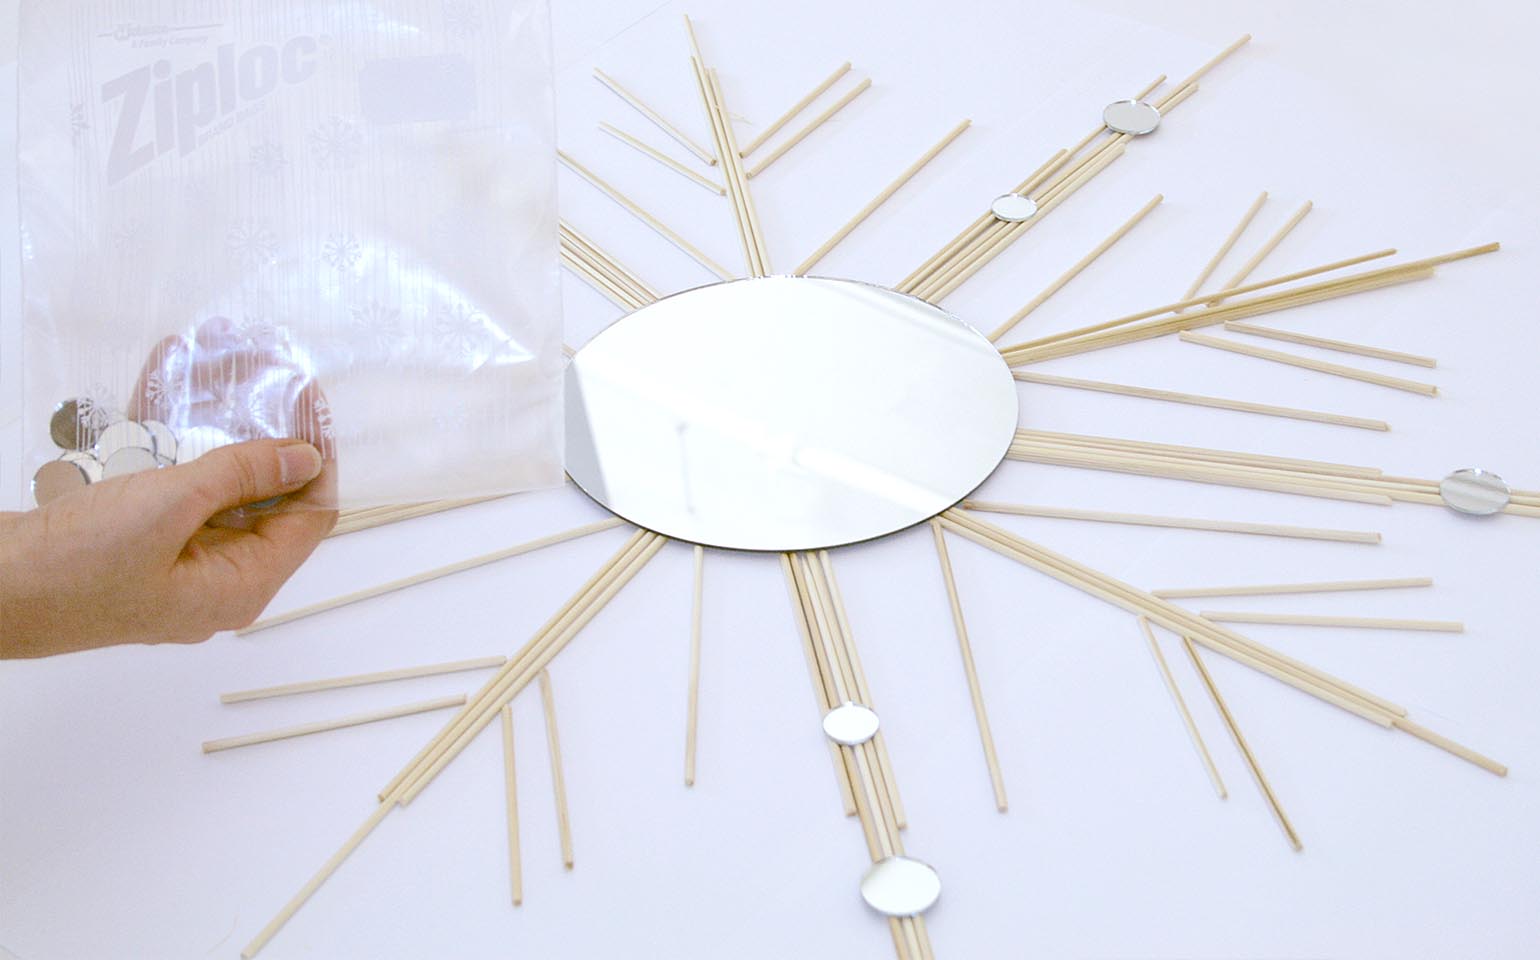
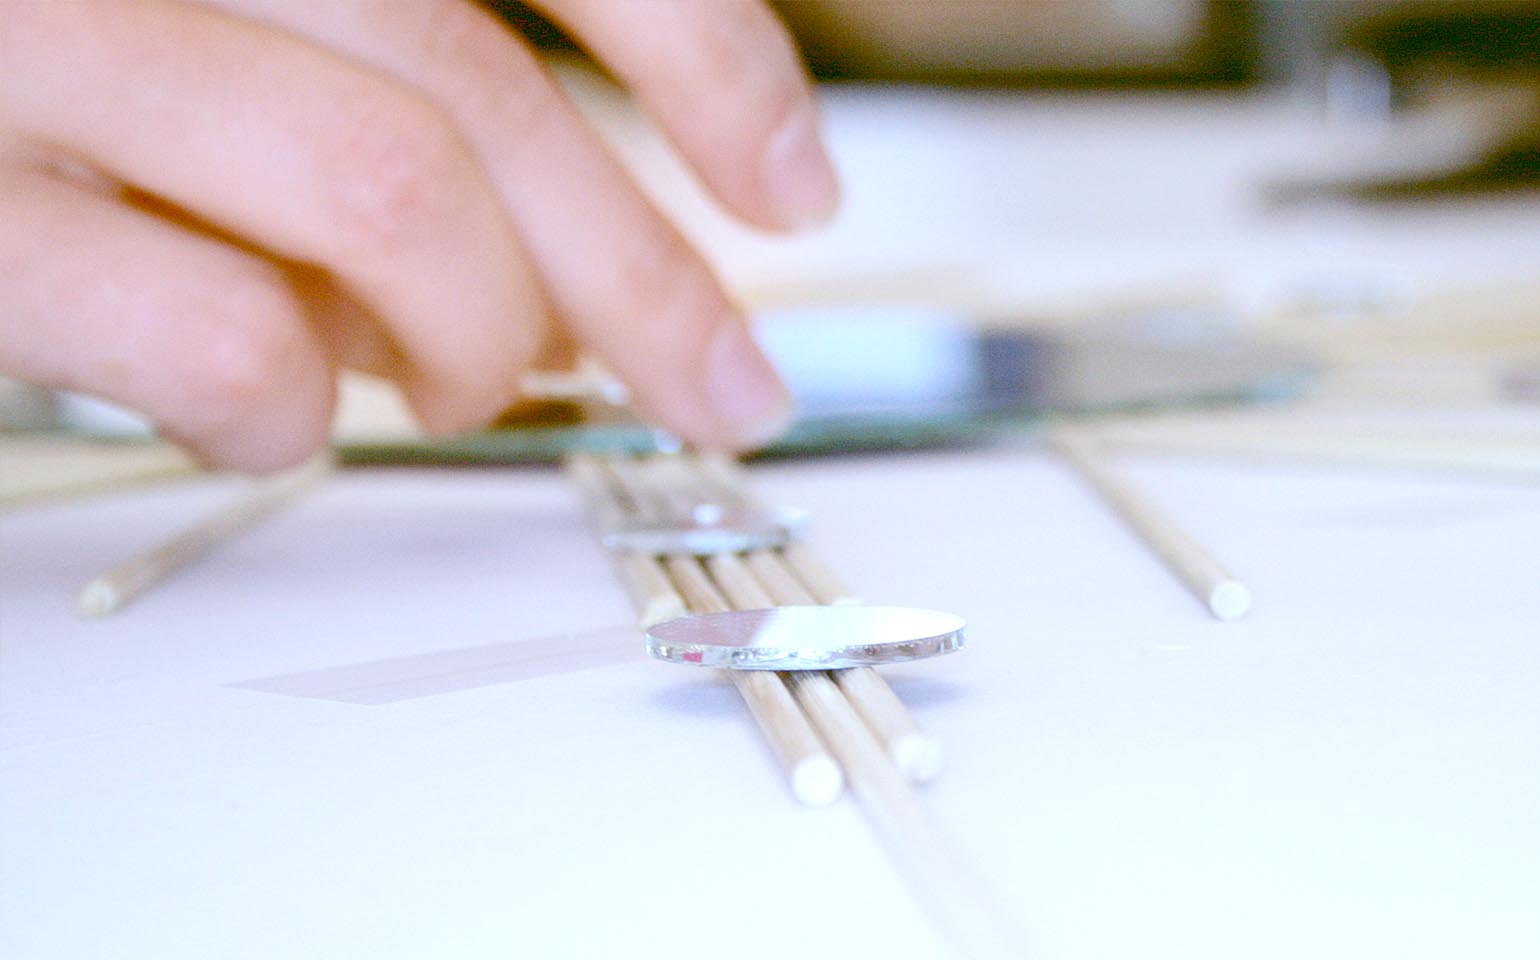
Place bamboo sticks and mirror tiles in the design you would like to create. We chose a design with 5 large spokes and 5 small spokes. You can add as many or as few bamboo sticks as you’d like.
-
3
Cut the skewers to size
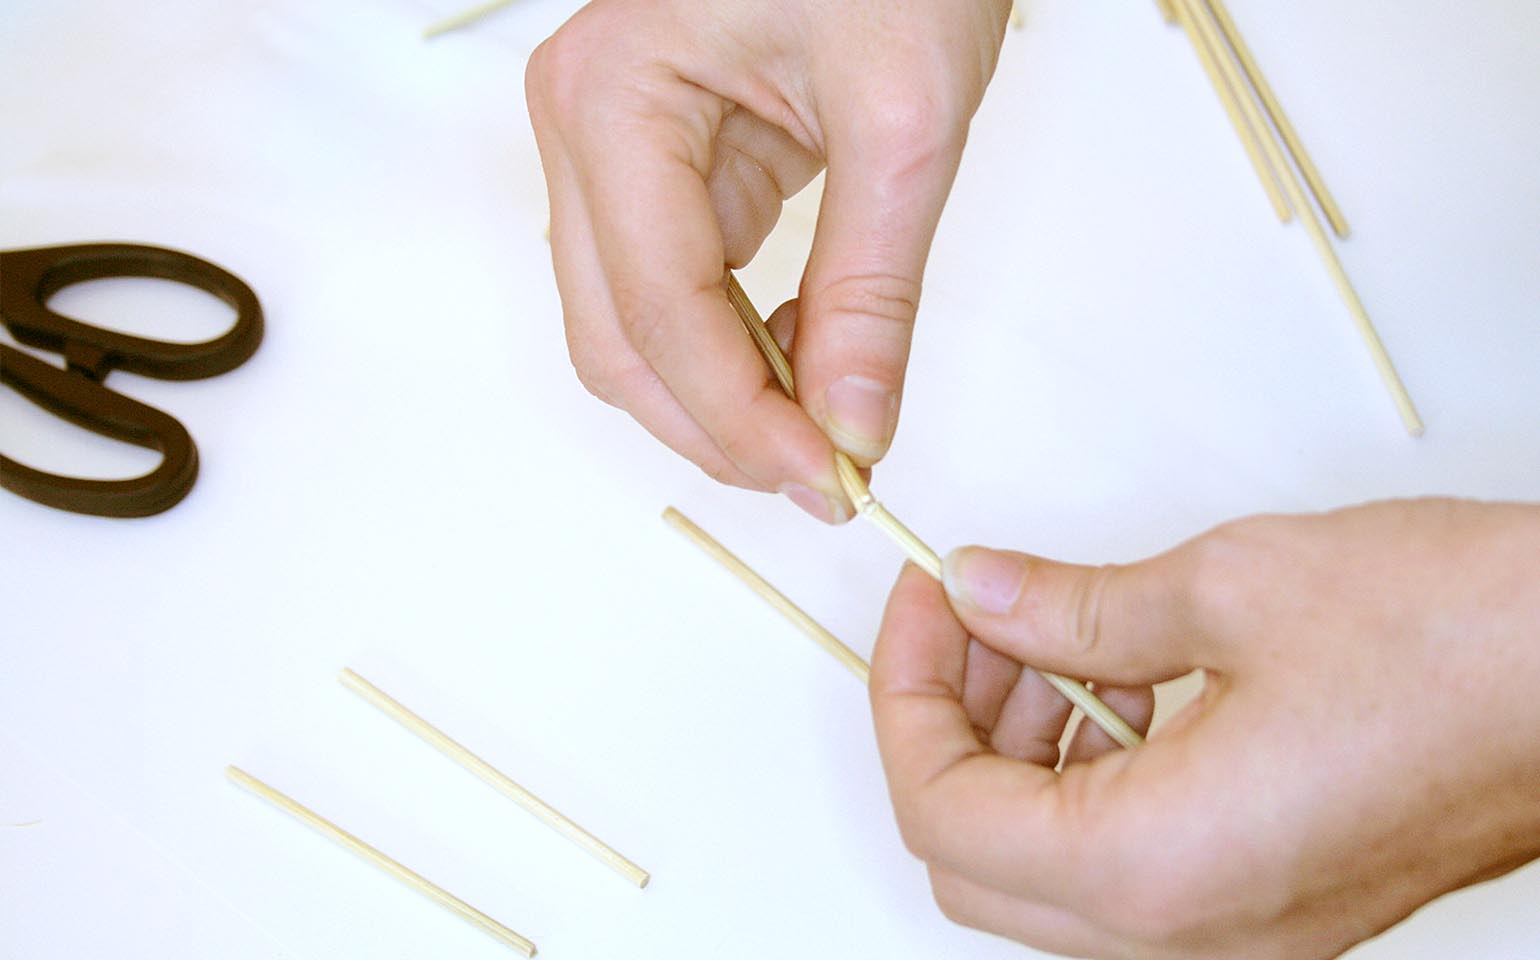
Cut bamboo sticks at varying lengths to create a staggering effect. Measure the length with a ruler and mark accordingly with a pencil. You can make an indent with the scissors and snap it in half with your hands or, for cleaner edges, use a utility blade.
-
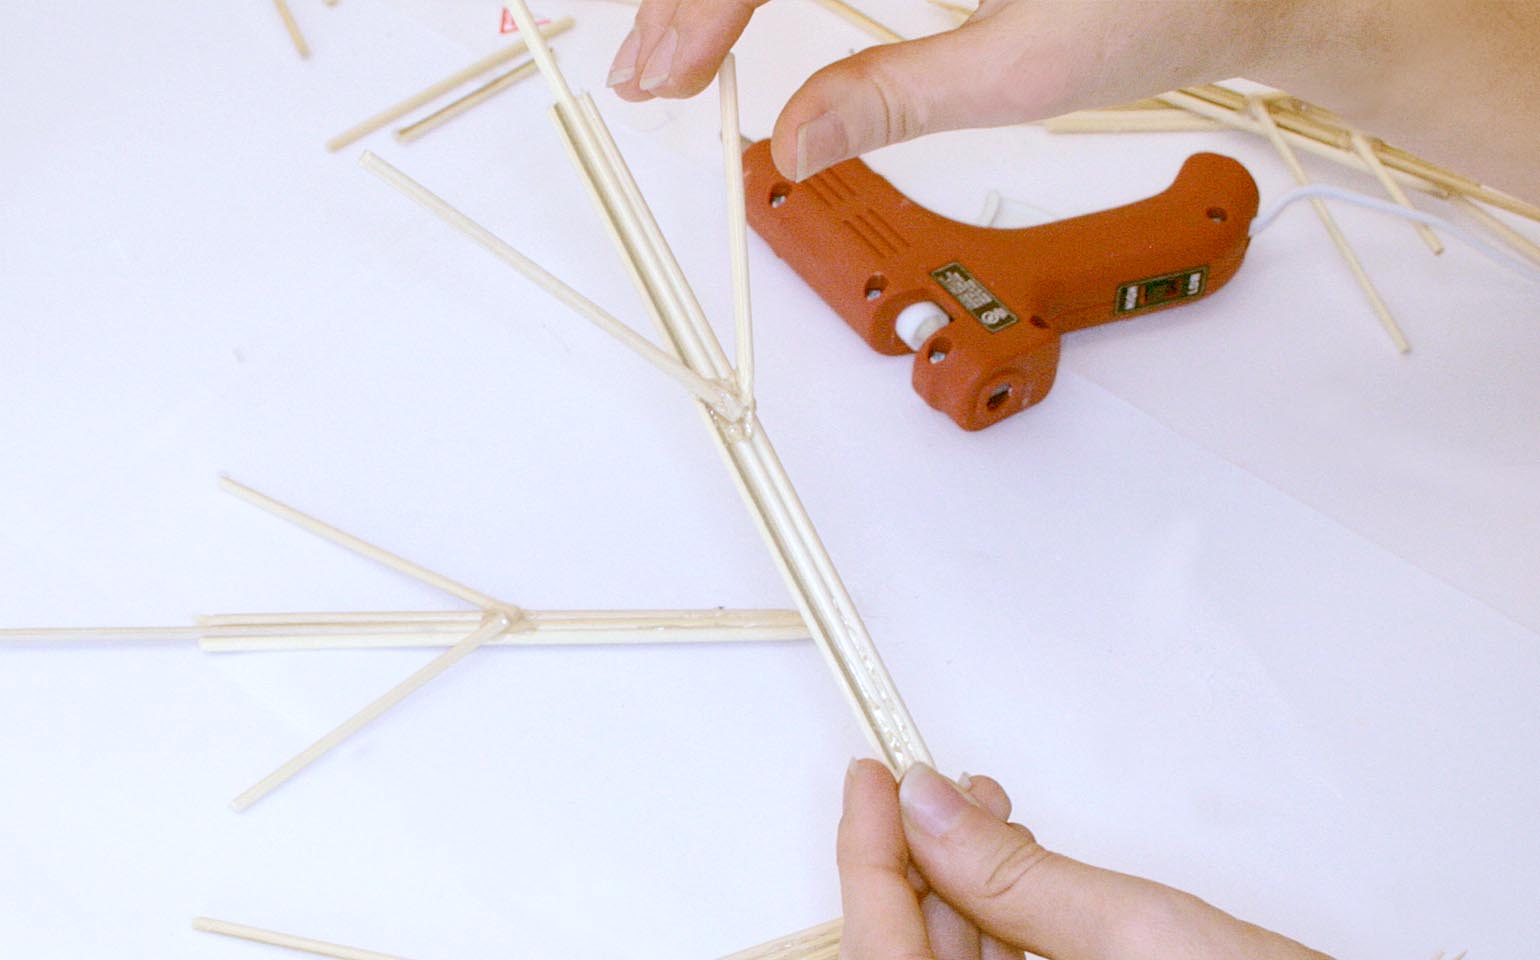
4
Create the small spokes
To create the small spokes, take a 12-inch skewer and glue two 2-inch skewers in a V shape 3 inches from the end. Next, glue two 4-inch skewers in a V shape two inches below the 2-inch skewers. You’ll need 5 of these.
-
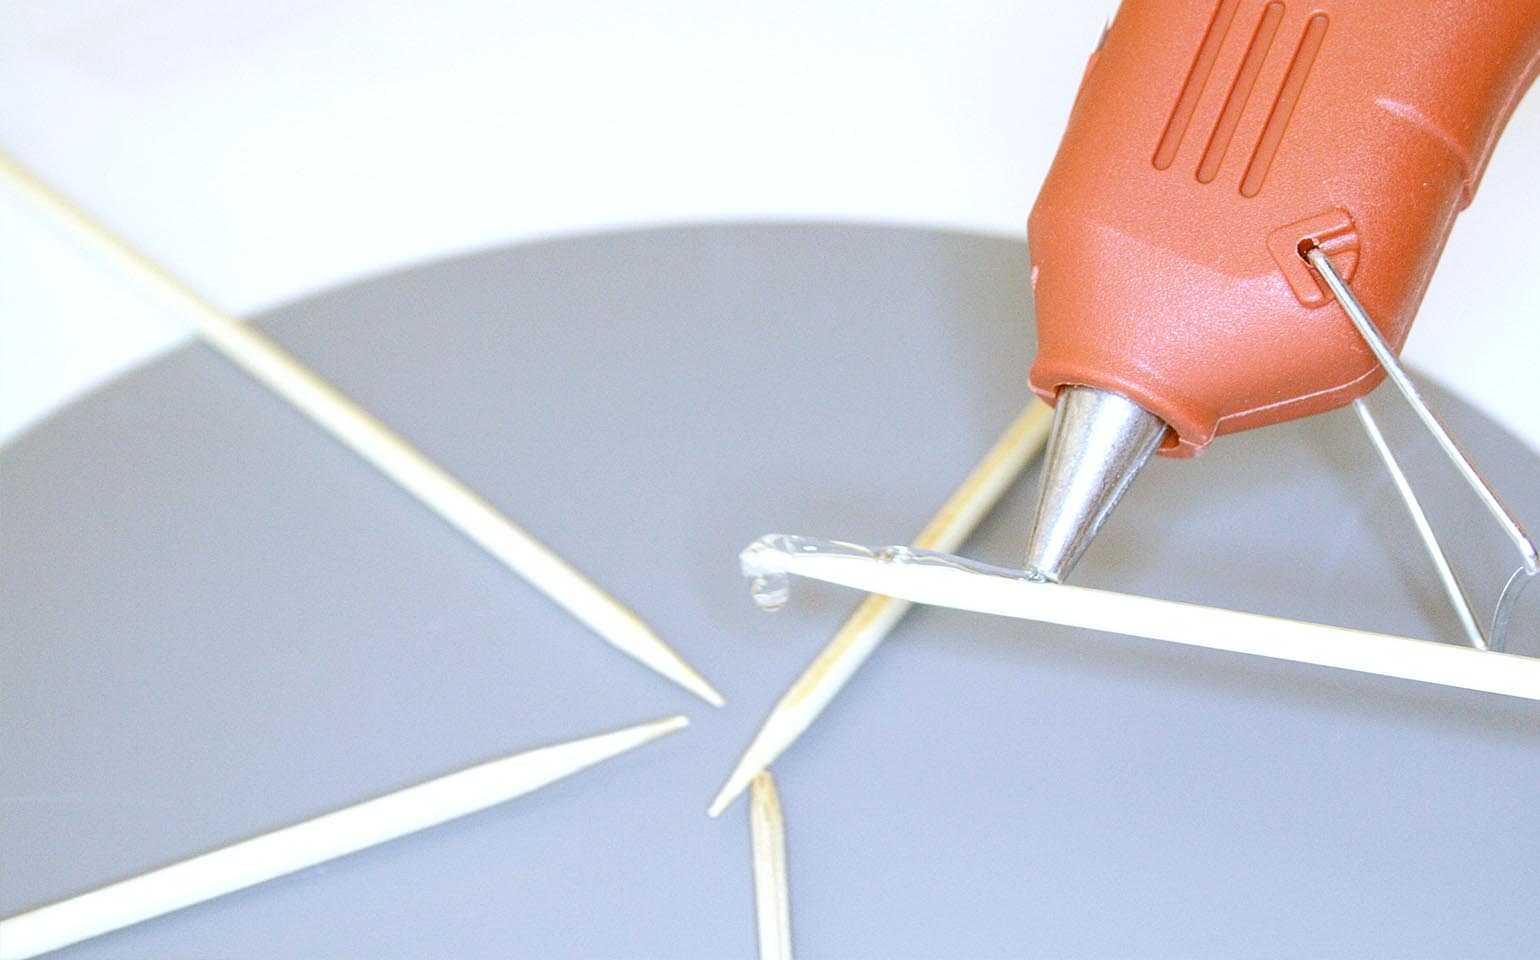
5
Glue the small spokes to the back of the mirror
Flip over the large mirror (mirrored side down) and glue the small spokes to the back. You may want to place them down first before gluing to make sure they are evenly spaced. Also be careful to glue them with the “clean” unglued side facing the front of the mirror.
-
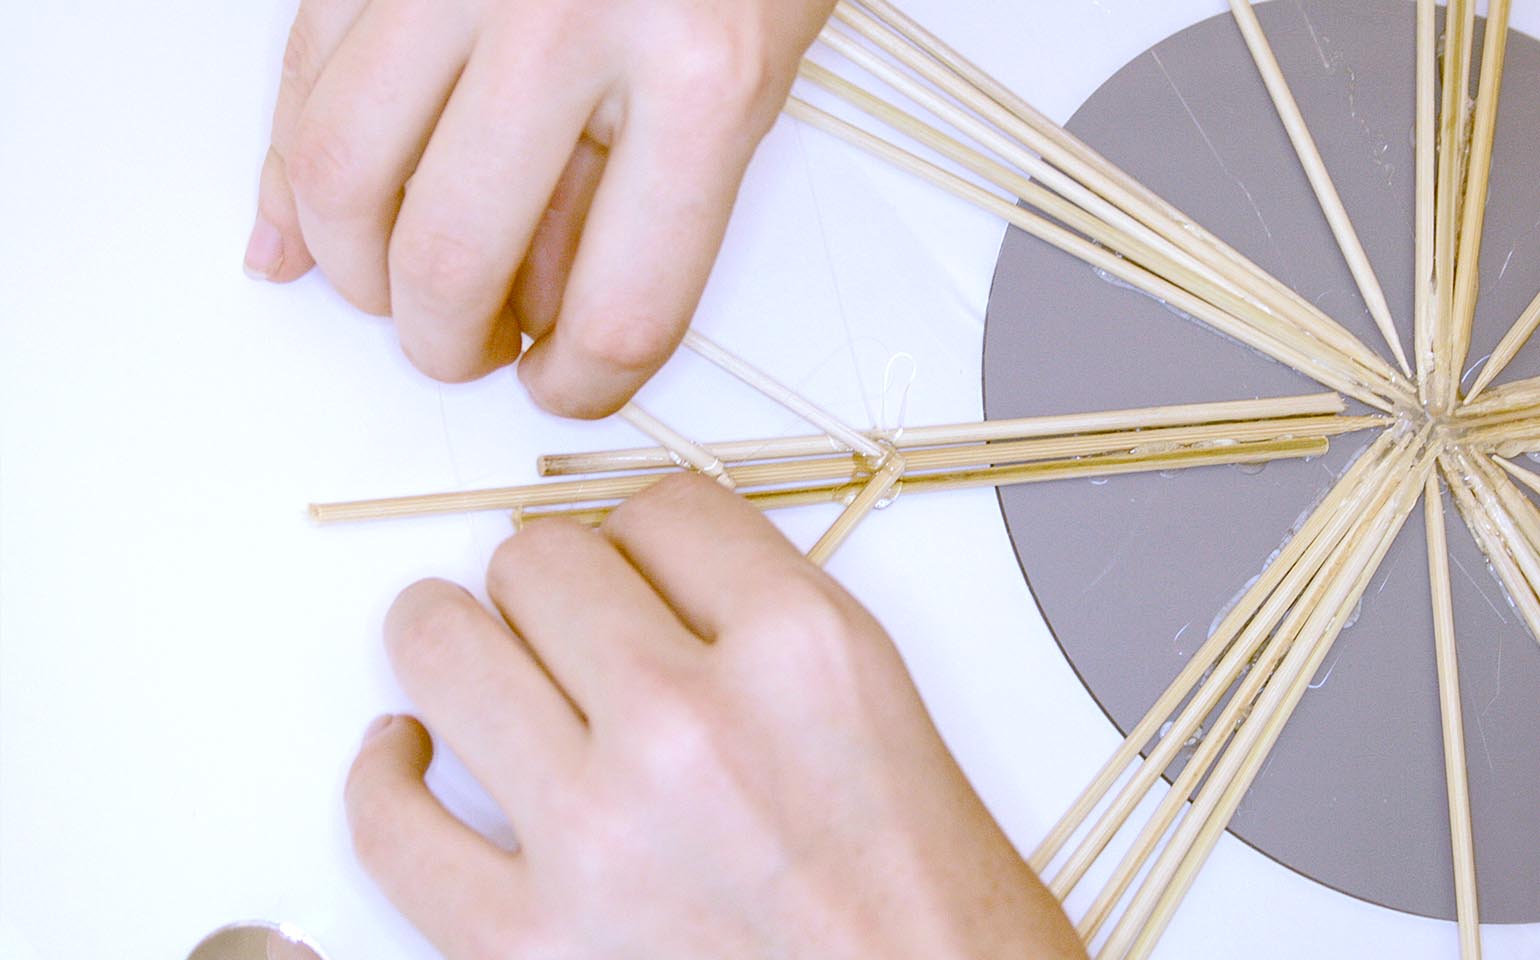
6
Glue the large spokes to the back of the mirror
To create the large spokes, begin by gluing a 12-inch skewer in between each of the 5 small spokes. Then glue the 10-inch, 8-inch, and 6-inch skewers in order on either side of the 12-inch skewers to create a fan effect.
-
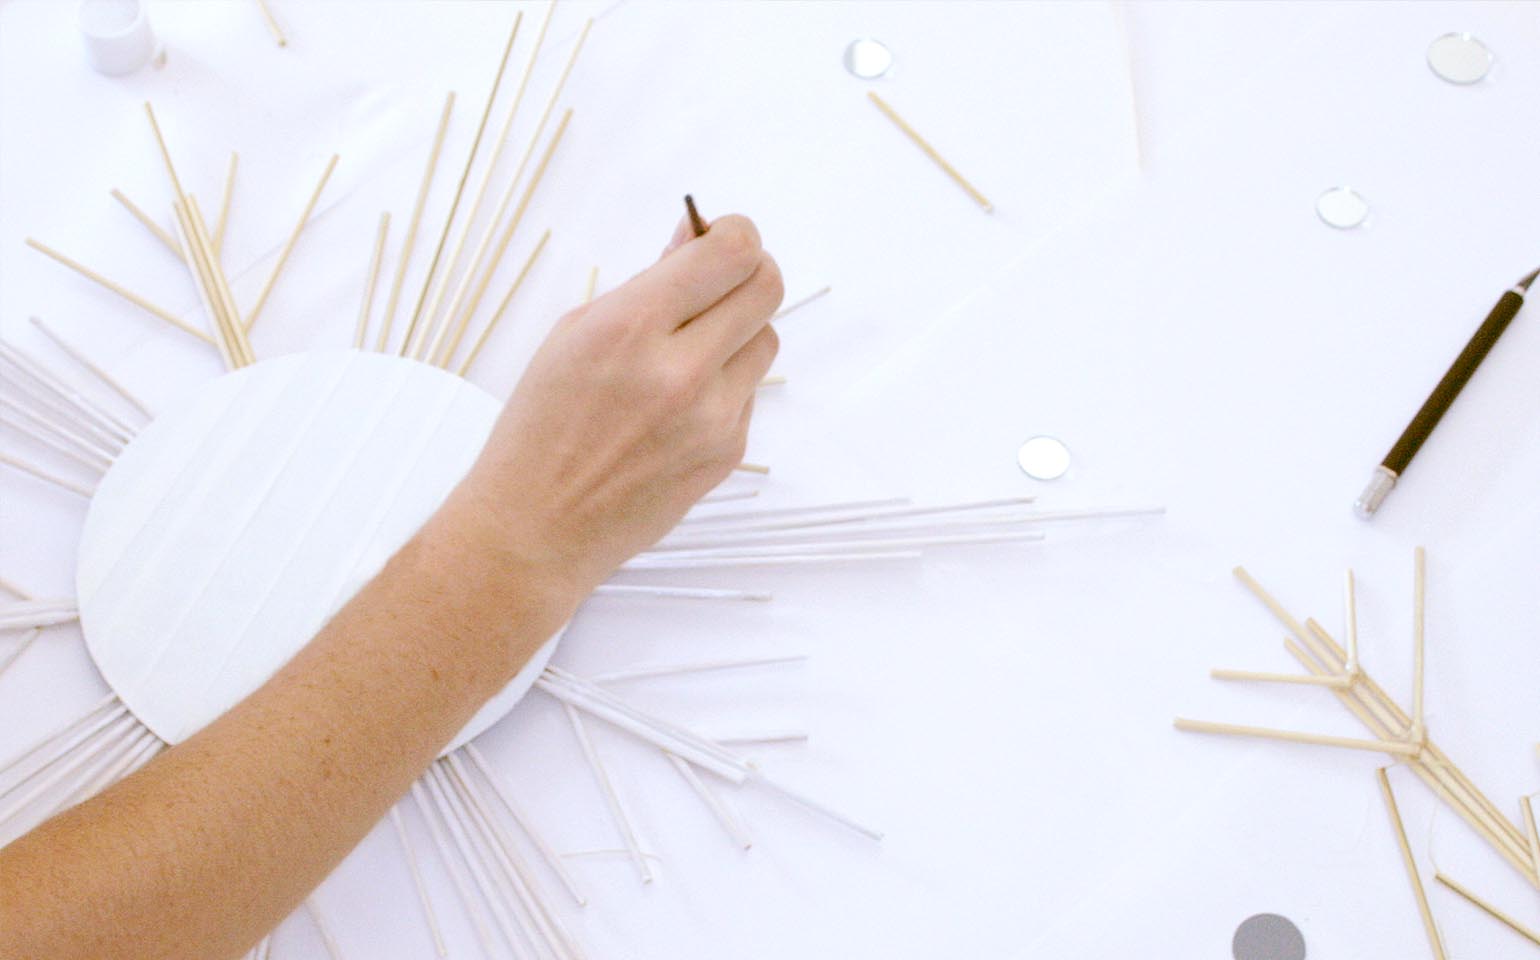
7
Paint the spokes
When the hot glue is dry and the bamboo sticks feel secure, you can start painting. Do one coat for a shabby-chic look, or do another coat for a crisper, more opaque white finish.
-
8
Add the mirror tiles
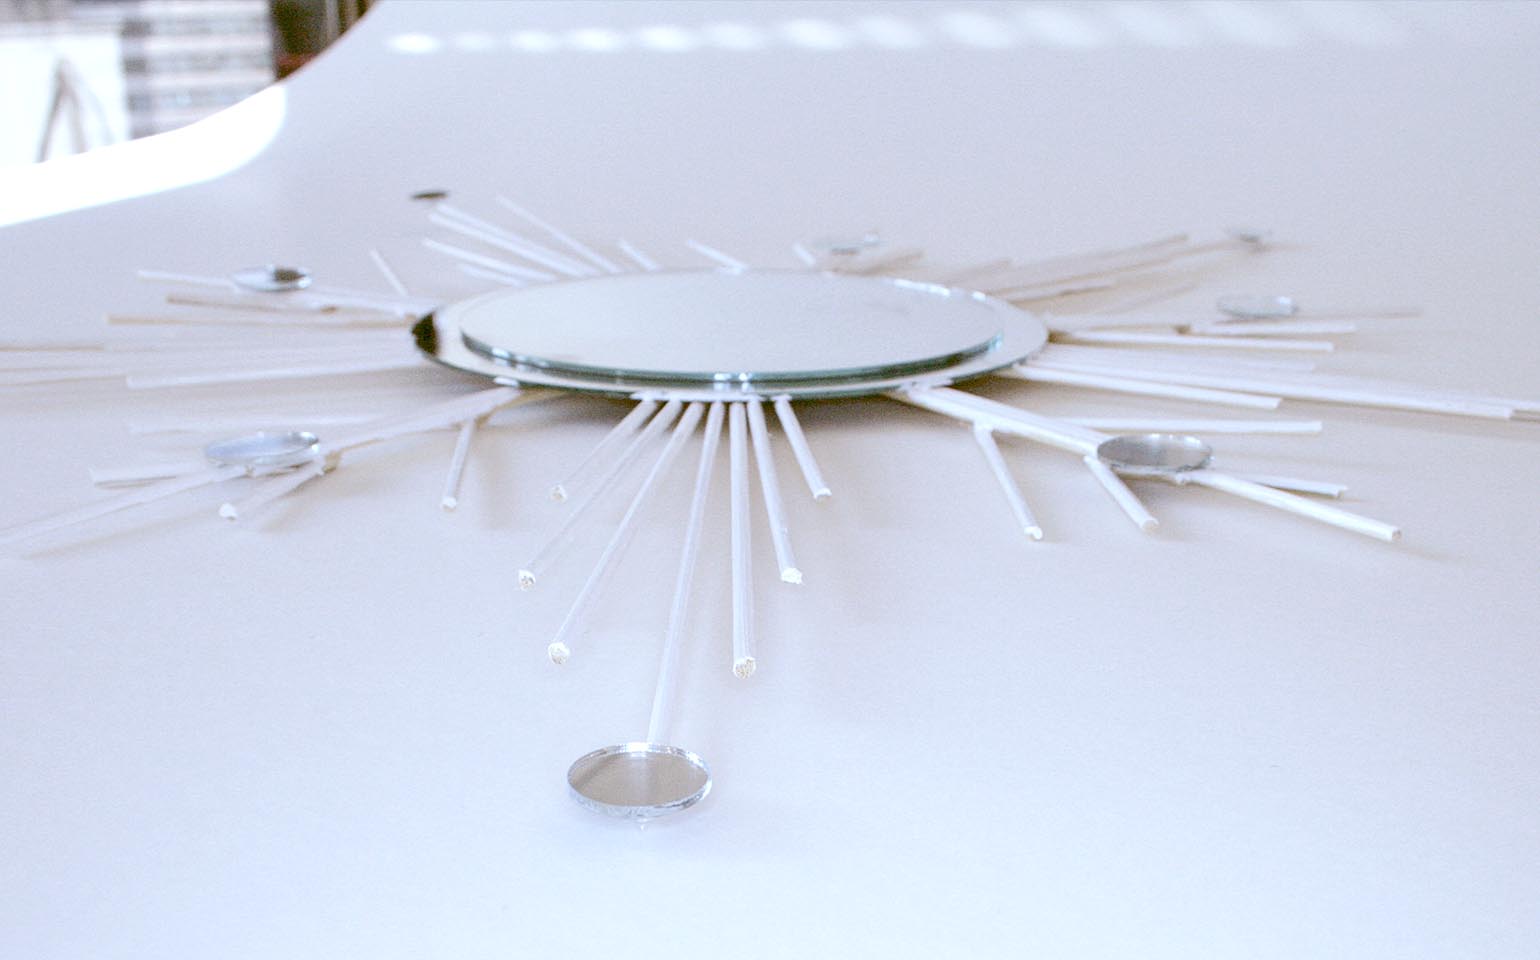
After the paint has dried, place the mirror tiles on the spokes in the design you’d like to create. We used circular tiles 1-inch in diameter for the small spokes and circular tiles ¾-inches in diameter for the large spokes, but there are a variety of shapes and sizes you can play with. When you’ve found your desired look, glue the mirror tiles to the spokes.
-
9
Remove the tape
Carefully peel back the tape from the mirror. If there is adhesive residue, wipe it down with Windex® and a clean paper towel.
-
10
Add the second mirror
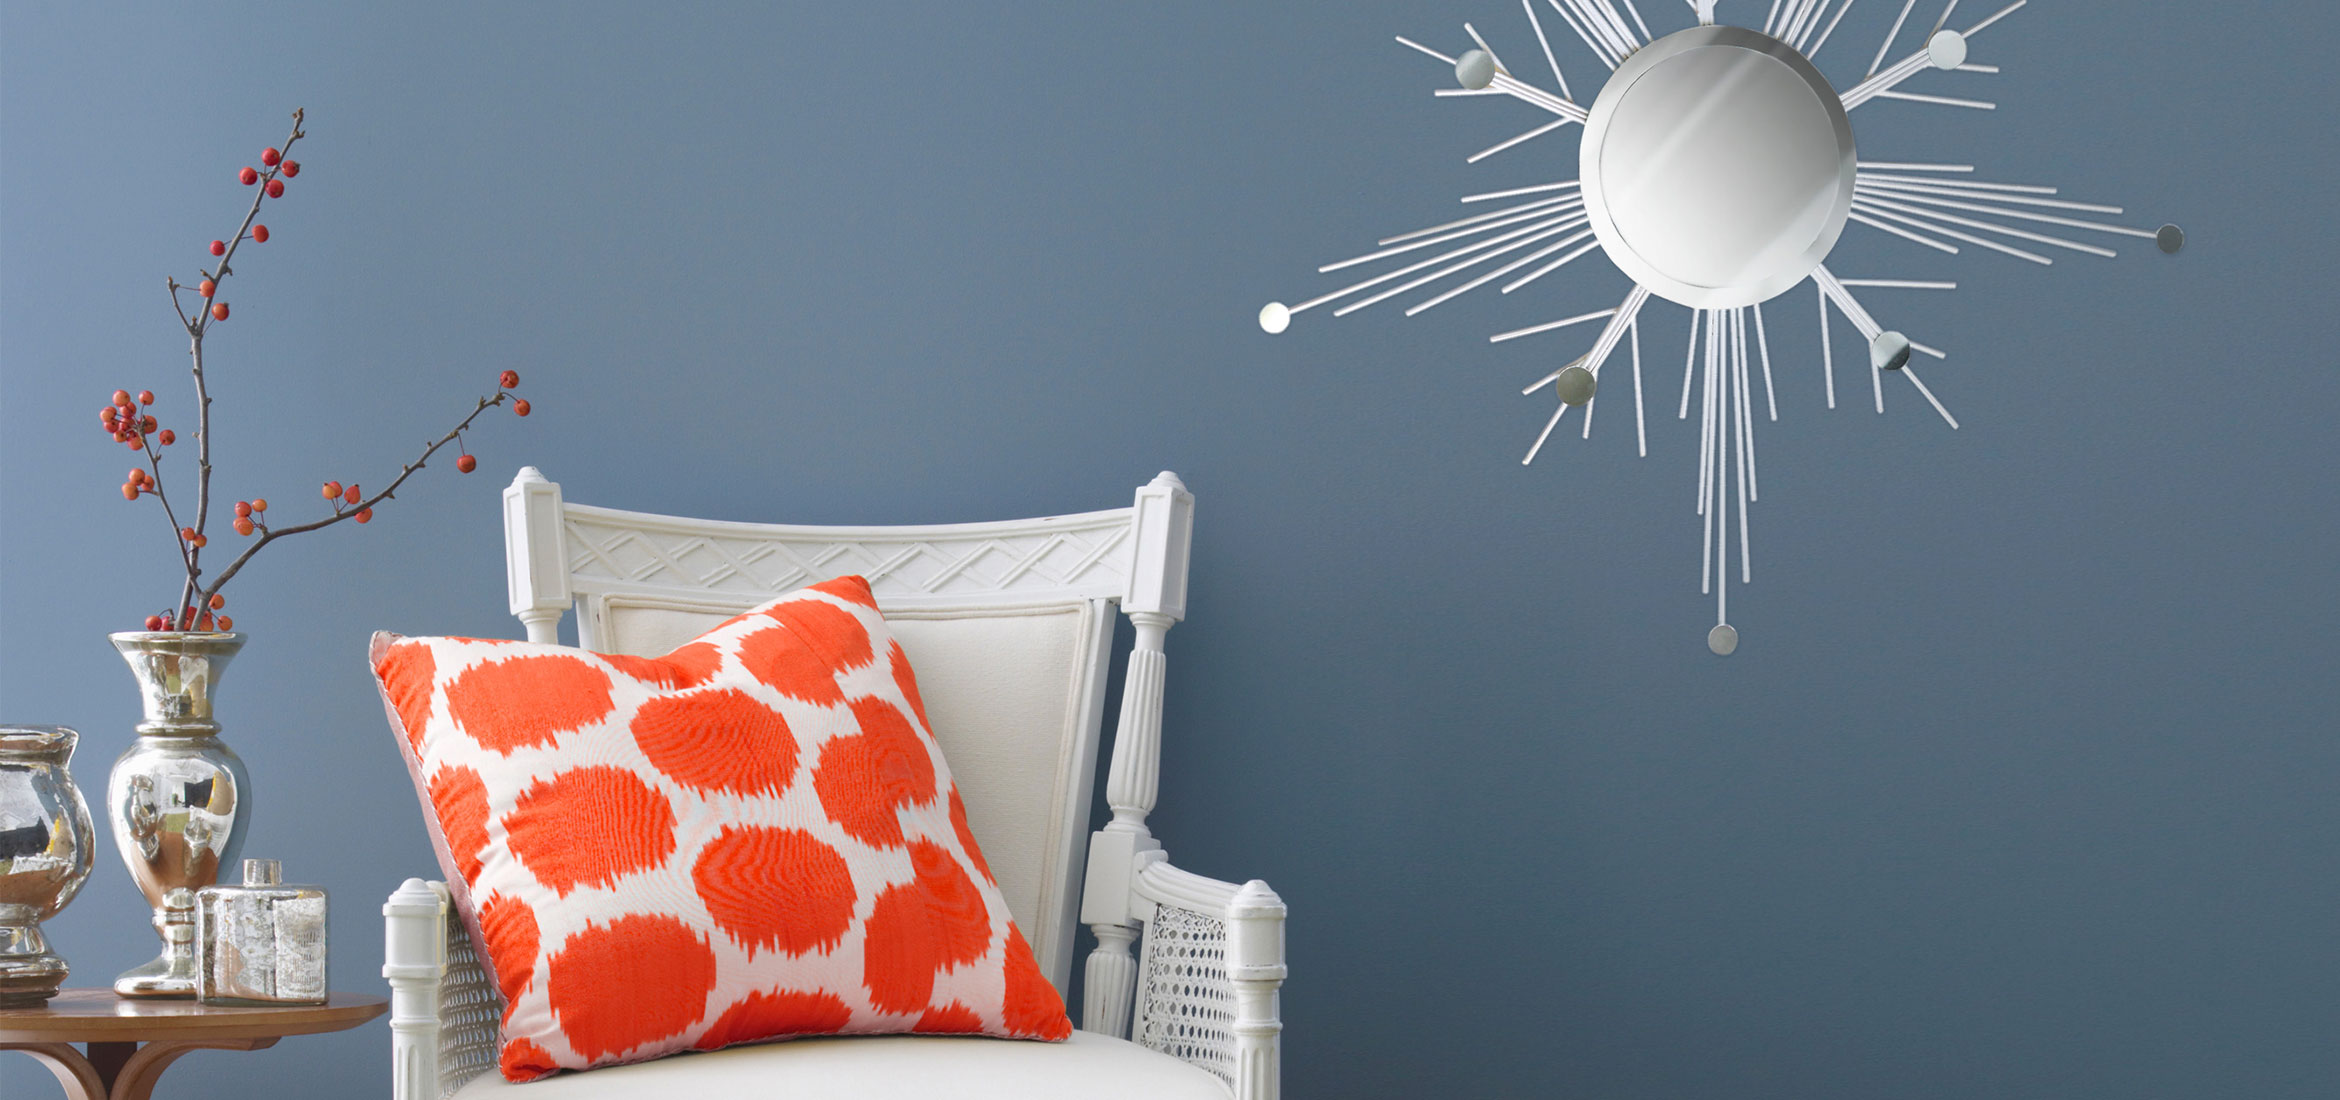
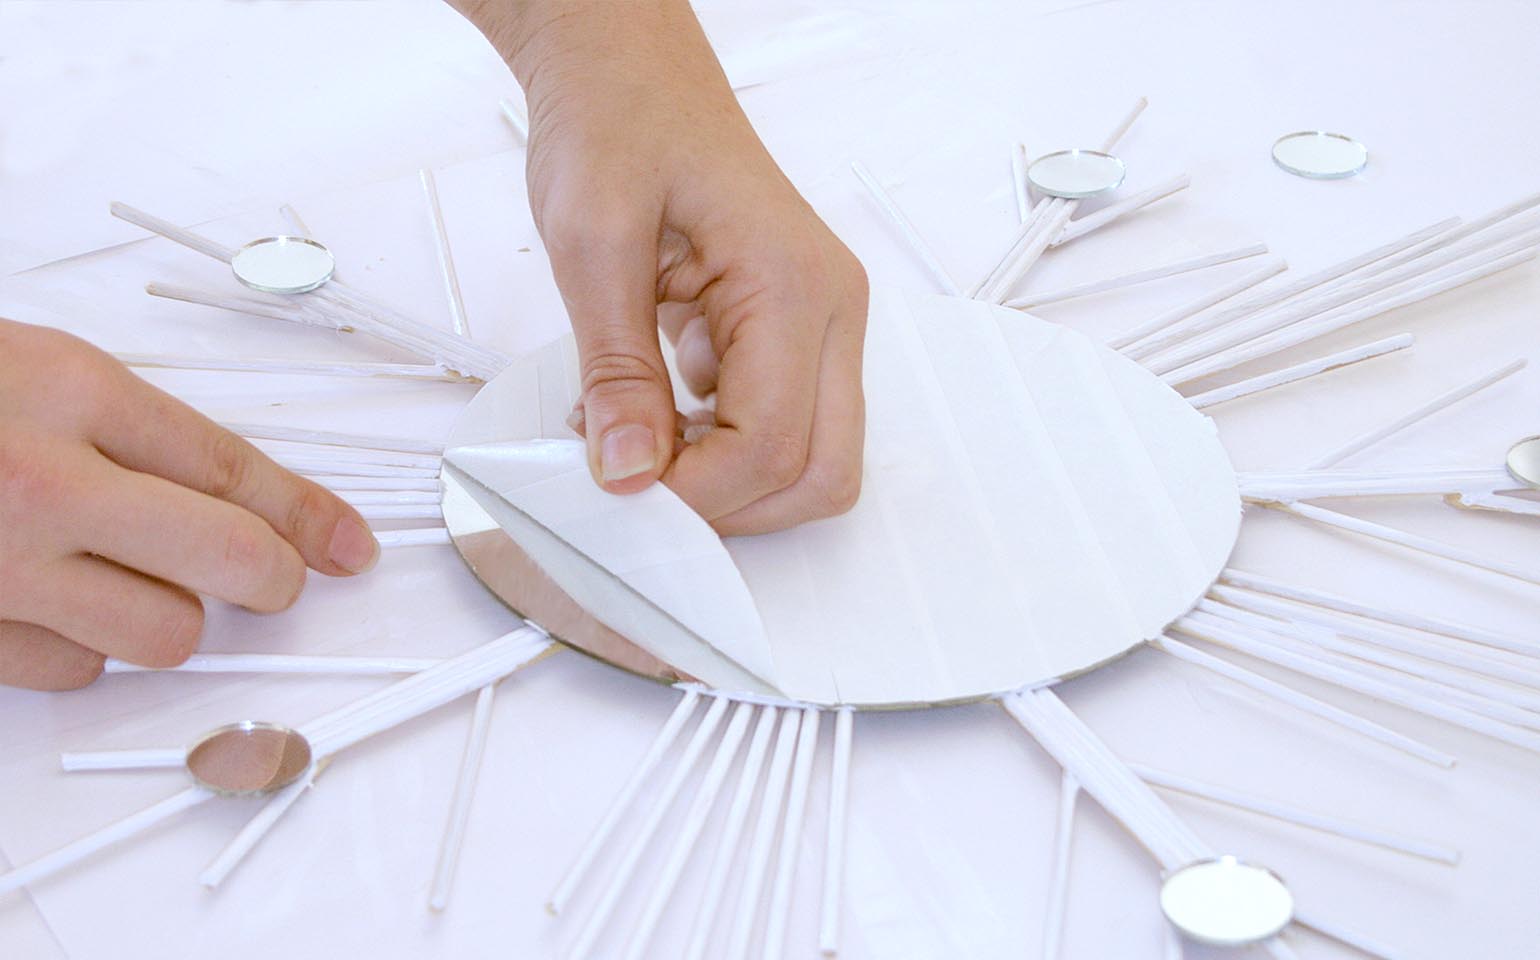
Finally, glue the medium-sized mirror on top of the large mirror to create a beveled look. If you glue too close to the edges, the glue will show when you press down. A quarter-sized swirl of glue in the center of the mirror should be enough to hold it. Voila! Now you have a snowflake mirror that will adorn your walls with style and grace this season.


SHARE