

Organized locker legend
First, check out the map in the guide photo below. Simple tweaks like a small shelf will provide more room for books but that's just the beginning—bring on the magnets, clips and small bags, and put those on the door and wall to maximize space. With a little hot glue and some color, you can keep schedules, photos, notes, pens and everything else you need right at your fingertips! Organized locker legend
- A - wallpaper
- B - hanging photos
- C - books and folders
- D - lunch and snacks
- E - decor
- F - hair ties, erasers, clips
- G - jacket, backpack, and scarves
- H - weekly calendar
- I - hanging photos

Locker Rescue: From Messy to Impressive
Start fresh this school year and go from overwhelmed to overachiever with these super cool ideas for locker decor and organization. Locker Rescue: From Messy to Impressive
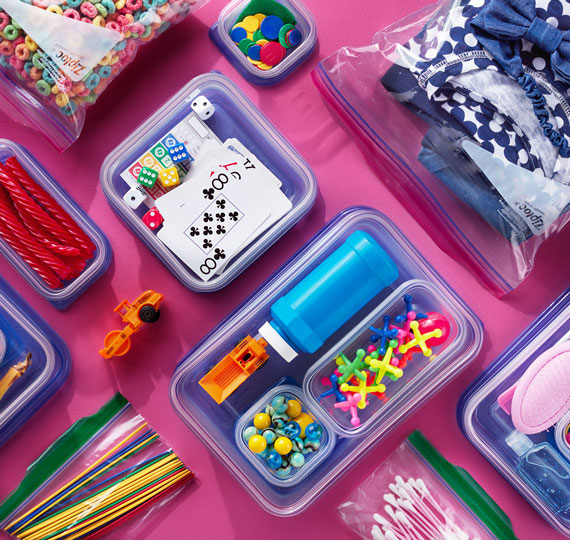
Fancy spraypainted magnetic Ziploc® organizers
Teens will be on board with this idea as soon as you utter the words “spray paint.” Let the kids pick their favorite colors and then follow the step by step below. Once complete, students can use the extra real estate in their lockers to hold hair ties, pens, erasers and more! Fancy spraypainted magnetic Ziploc® organizers

Materials
- Spray paint
- Painter’s tape, washi tape and/or stickers for stenciling
- Super strong magnets
- Hot glue gun
Directions
- 1 Have your student pick a few small Ziploc® containers, sized for their supplies and needs. We used extra small square and small rectangle Ziploc® containers for our locker.
-
2
Make a stencil on the Ziploc® container by using the painter’s tape or stickers. Ideas include stars, hearts, or circles for polka dots.
- 3 Carefully spray paint the upside down container. Once the paint is dry, remove the tape or stickers.
- 4 Hot glue the magnets to the back or side of the container.
- 5 Hang in locker and fill!


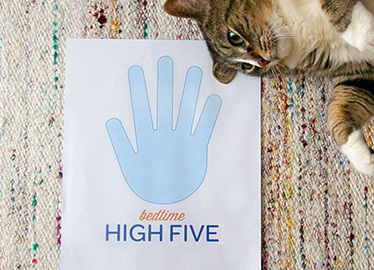
Printable personalized calendar
Keeping schedules straight can be tricky, but it can also be fun with a homemade calendar. This one is easy to customize and will clip right to the locker door. Schedule change? Just wipe off the calendar and revise—the dry erase marker wipes off a Ziploc® brand bag easily. Printable personalized calendar

Materials
- Cardstock paper
- Quart size Ziploc® brand bag
- Printer
- Dry erase marker
- Magnets or clips to hold bag to locker
Directions
- 1 Print this calendar on a sheet of cardstock paper (use any color you prefer, just not too dark).
- 2 Trim the calendar on dotted lines so it will fit nicely into a quart size Ziploc® brand bag.
- 3 Place calendar in the bag and, using magnetic clips, attach to a flat surface on locker door. You can write on the Ziploc® brand bag with a dry erase marker.
DIY Magnetic Washi Tape Clothespins
Don’t get wasabi and washi tape mixed up—wasabi is the spicy green stuff for sushi, while washi tape is a crafter’s greatest asset. For this easy project, simply use washi tape to decorate regular ‘ol clothespins—no gluing (and barely any cutting) necessary! Then add magnetic tape to the back, and stick the clothespins to your locker. Now it's super easy to hang all sorts of fun things like pictures, jewelry and small bags to hold mints, hair ties, etc. DIY Magnetic Washi Tape Clothespins

Materials
- Washi tape (found at your local craft store)
- Clothespins
- Strong magnetic tape or very small strong magnets (if using magnets instead of magnet tape you will also need a hot glue gun)
Directions
- 1 Most washi tape is the same size of a standard clothespin, making this so easy it’s ridiculous. Cut enough tape to fit 1 side of the clothespin, plus about ¼” - ½” extra on either side.
- 2 Center the tape on the clothespin edge and fold remaining tape over the opposite side of the clothespin edge.
- 3 Add magnetic tape to the back of the clothespin.


SHARE