

Materials
- blank cards, envelopes, and gift tags
- dye
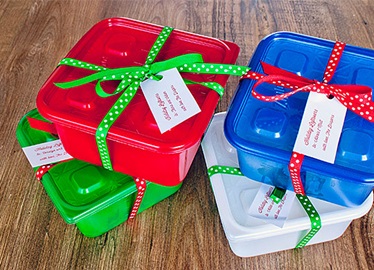
- Ziploc® holiday containers
- ribbon
- bells
Directions
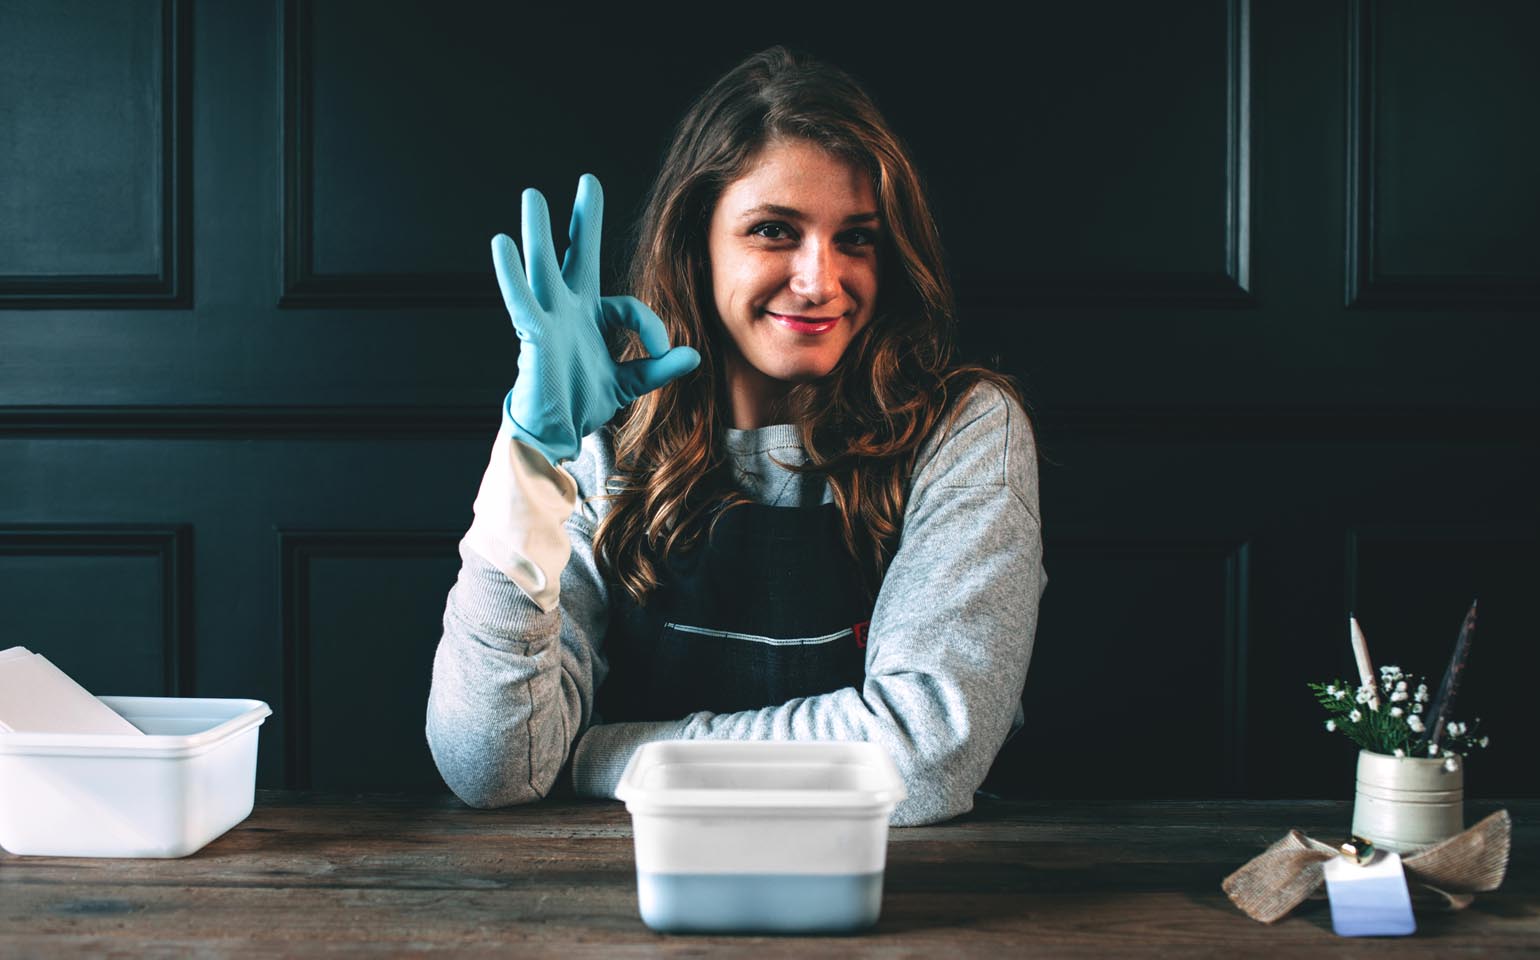
- 1 To start, wear rubber gloves to protect your hands. You don’t want to dye your hands!
- 2 Mix the dye according to the manufacturer’s instructions. I like to use a Ziploc® holiday container so that I can save extra dye for future projects. It makes cleanup easier.
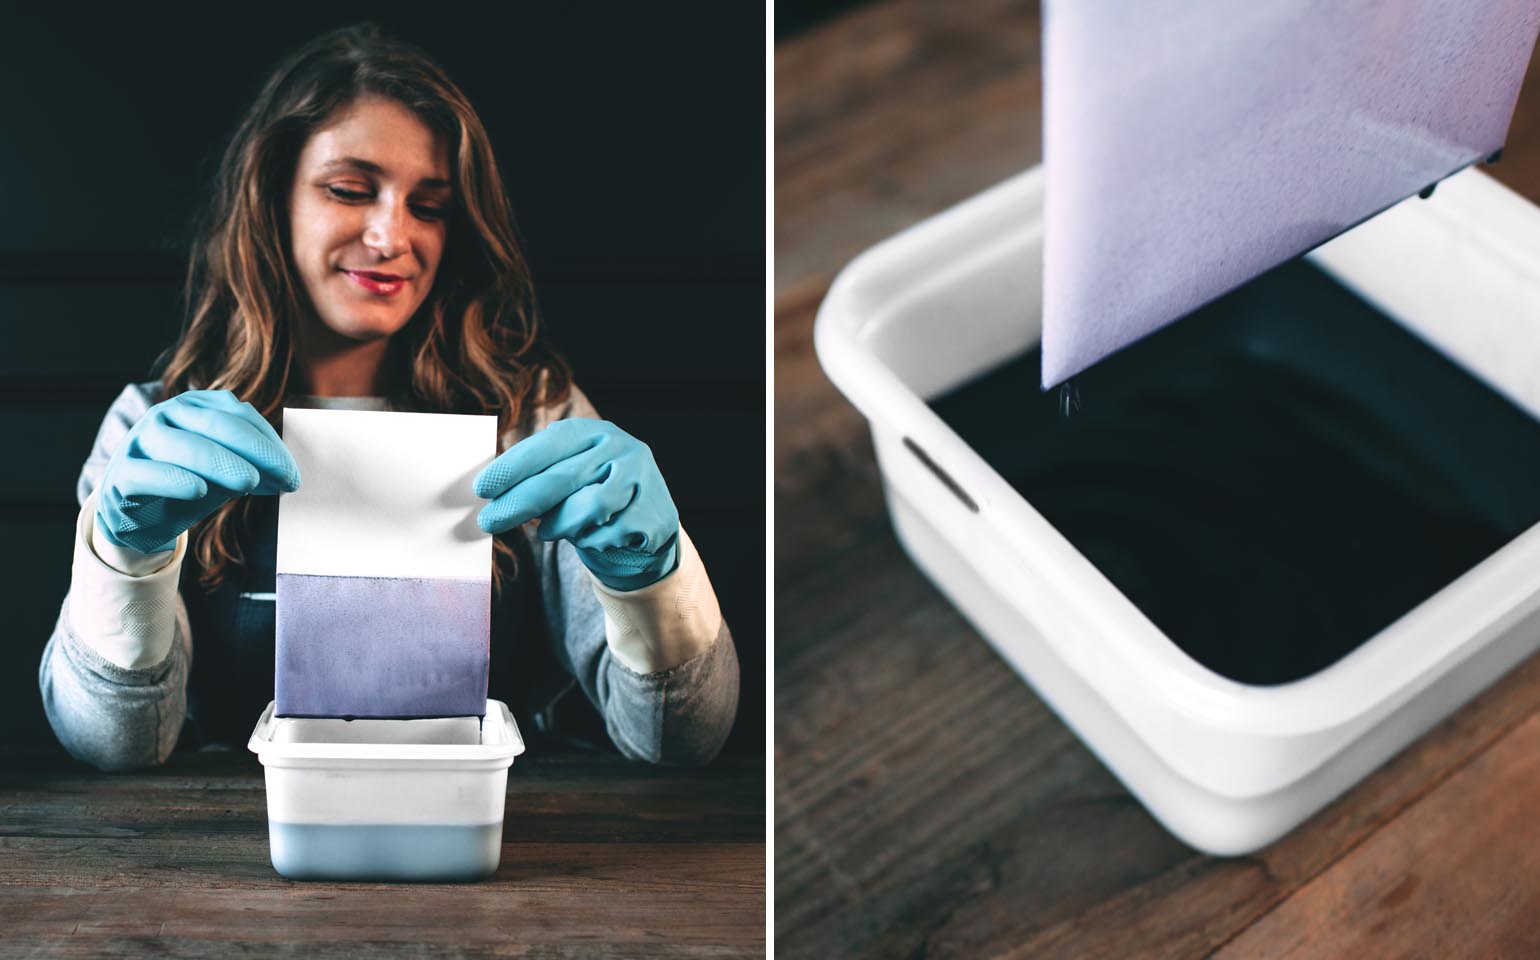
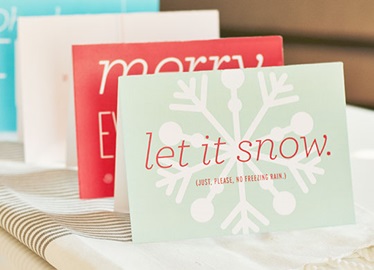
- 3 Grab your first piece of paper and start dipping. Create different tones of color by dipping less and less of the paper as you go. You can be exact about it and set a timer...or just wing it!
- 4 Set aside each piece of paper to dry by carefully placing it in a second Ziploc container. This will help prevent any dye from getting on your table while the paper dries.
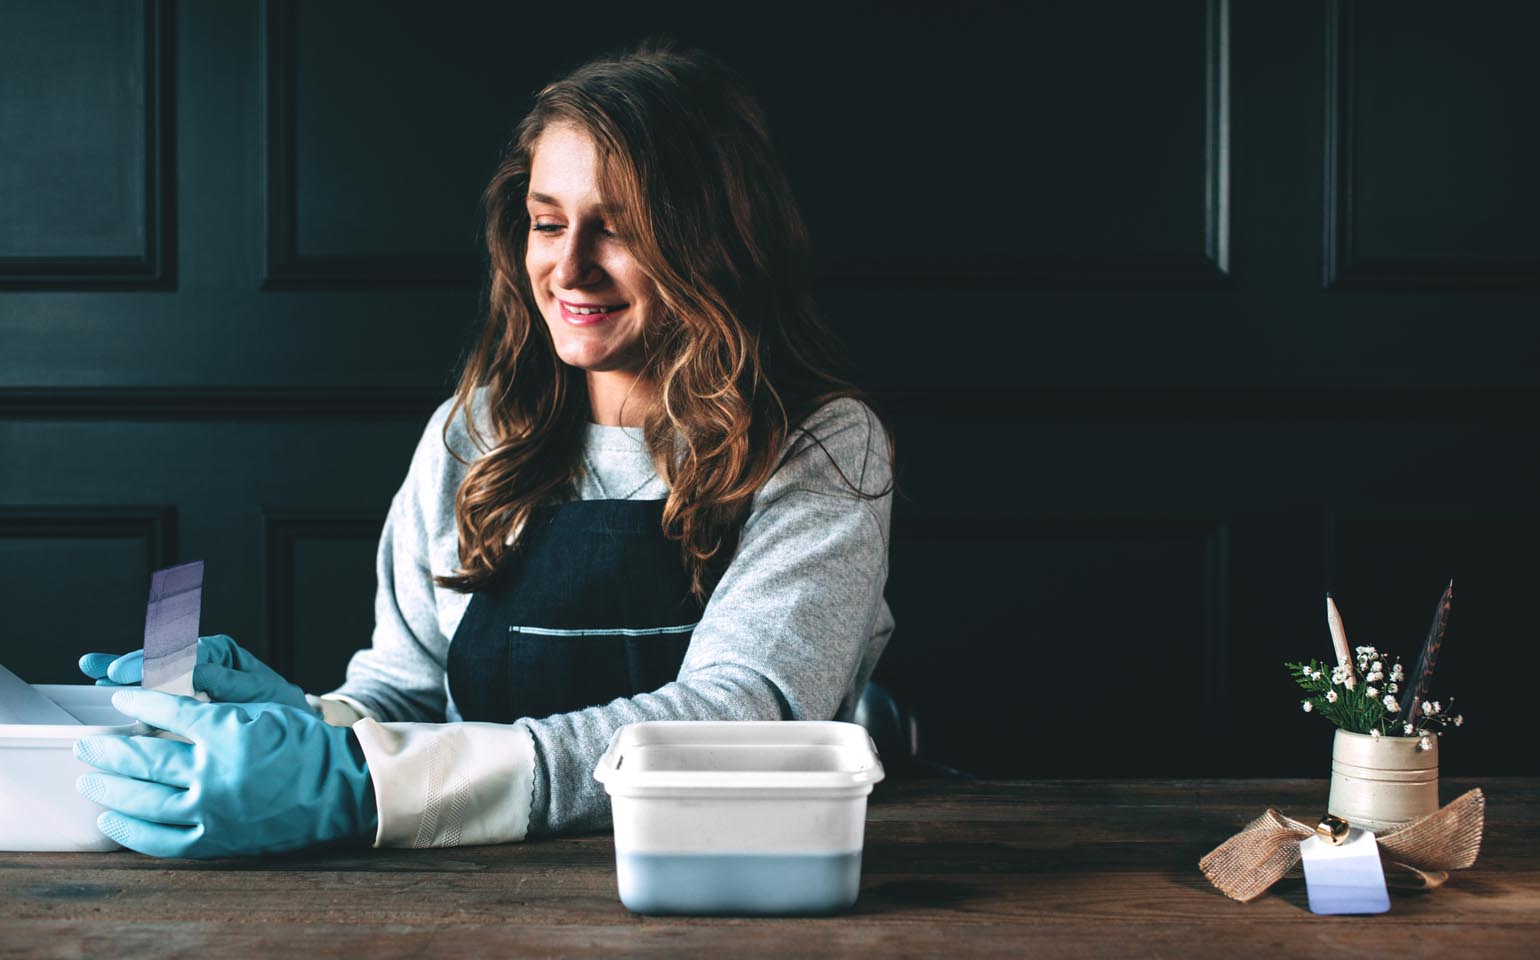
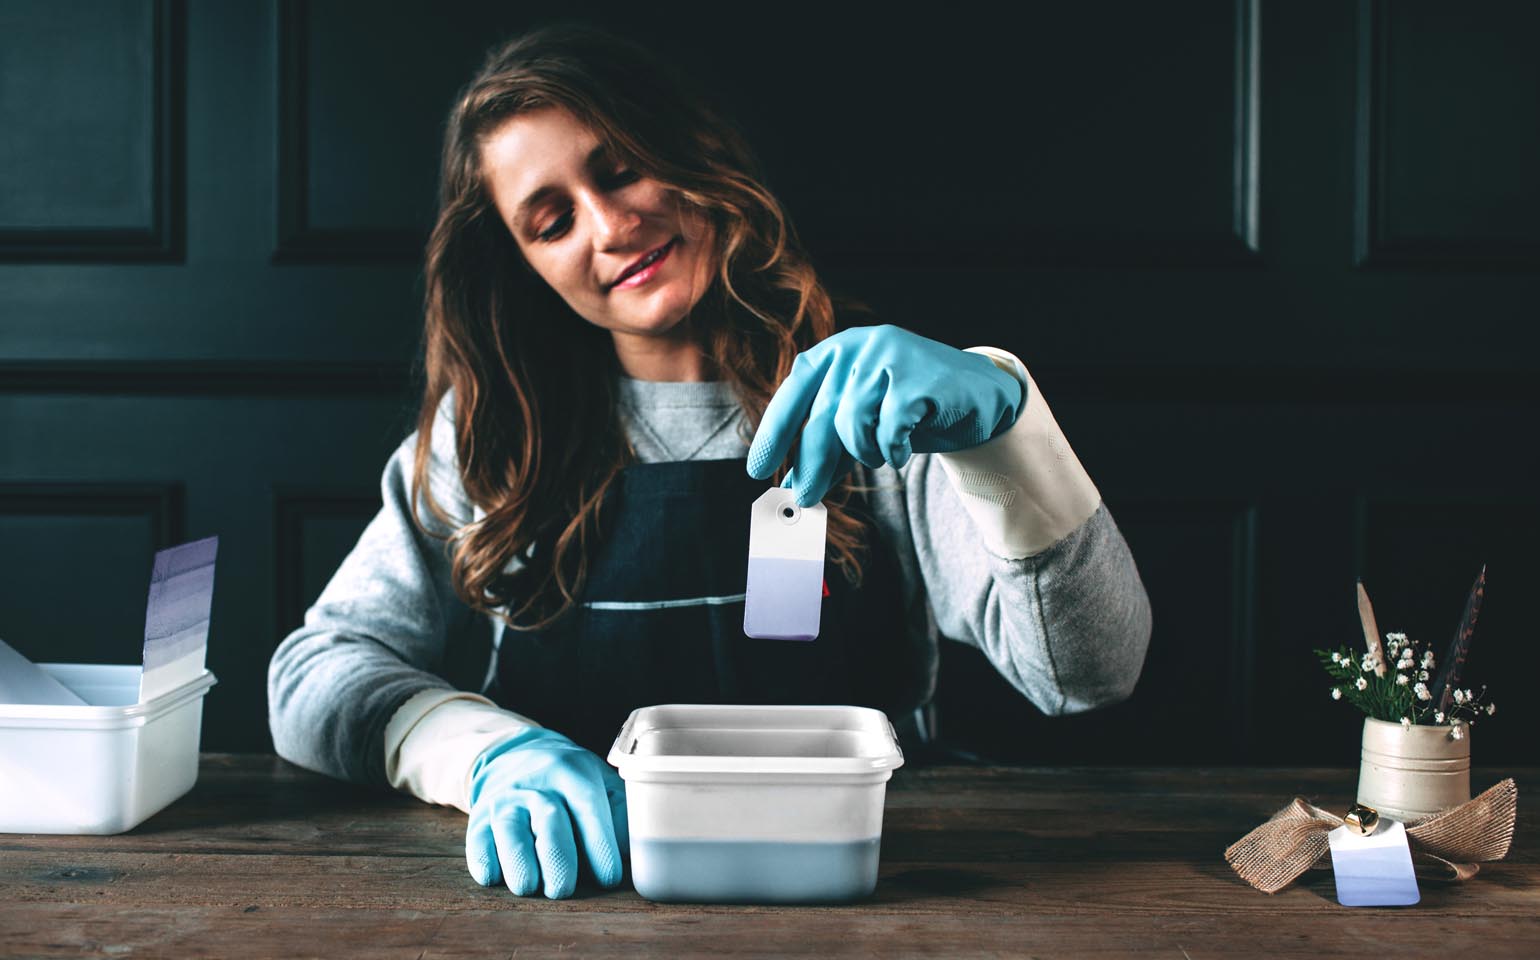
- 5 Repeat the same process for gift tags and envelopes. Don’t be afraid to change up the angle you use when dipping.
- 6 To make this stationery into a gift, simply stack an even number of cards and envelopes. Then, tie with a pretty ribbon, jingly bell, and homemade gift tag. The result is a gift perfect for teachers, moms, and even my cat sitter (shhh, don’t tell!).
- 7 Tip: You can also use the stationery for your personal holiday cards, as well. While I’m not always able to mail cards to everyone on my list, I try to pen a special note to my closest family members and friends every year.


Photography by Nathan Michael


SHARE