
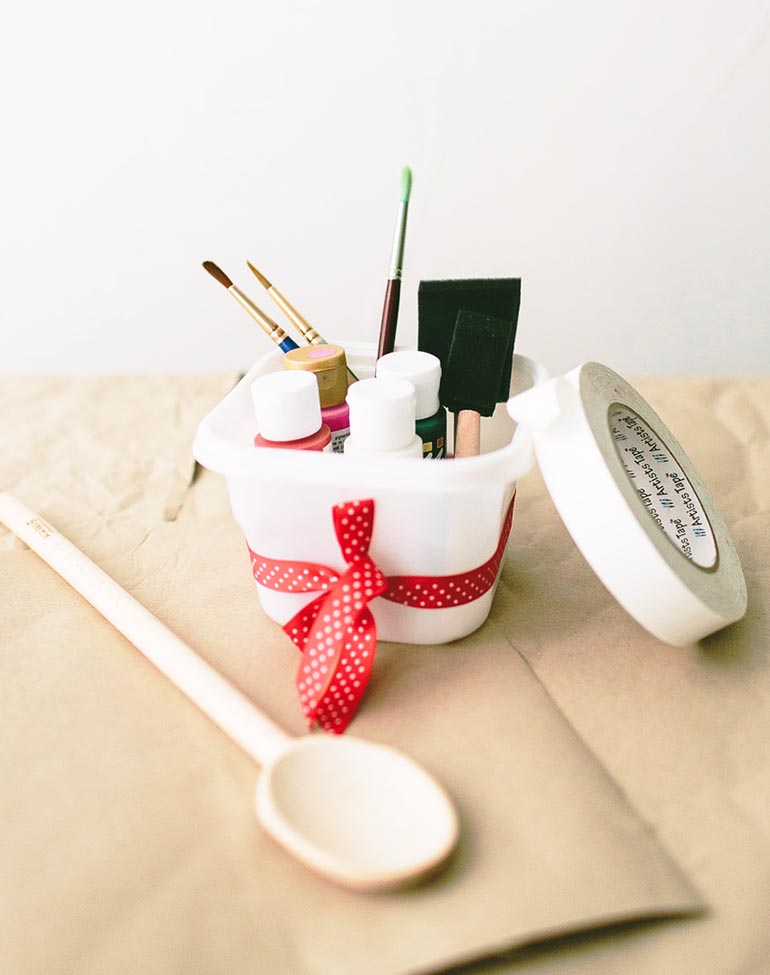
Materials:
- Wooden spoons
- Acrylic paint
- Paintbrushes
- Painter’s Tape
Directions
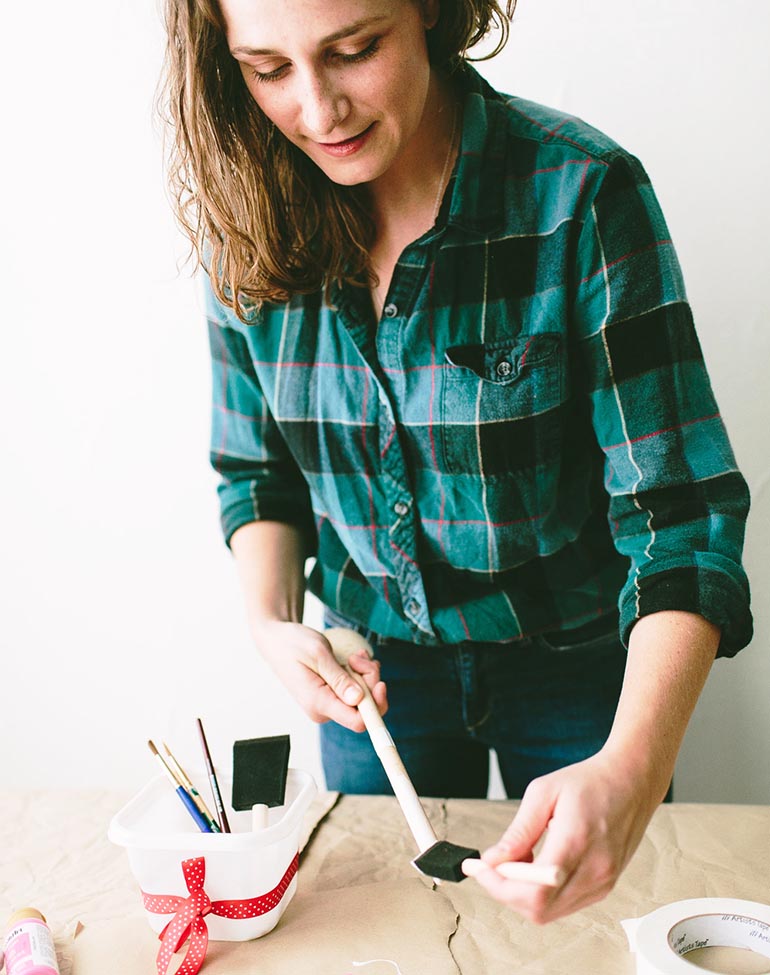
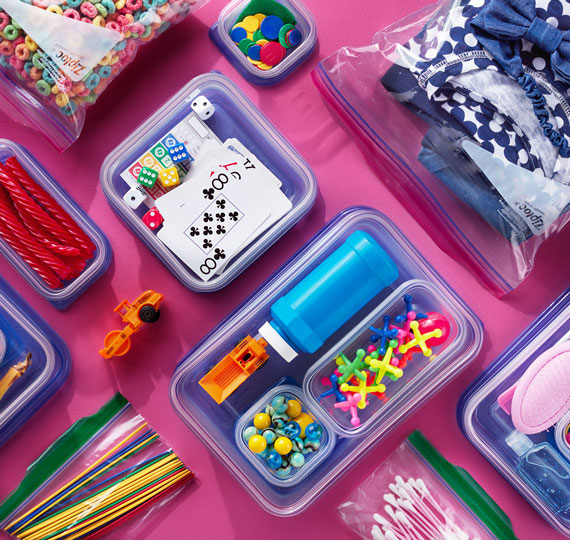
- 1 I find it’s always helpful to gather my materials before I get started on any DIY project. This keeps me from being mid-project and having to scramble around to find things! The Ziploc® brand containers are perfect for this one.
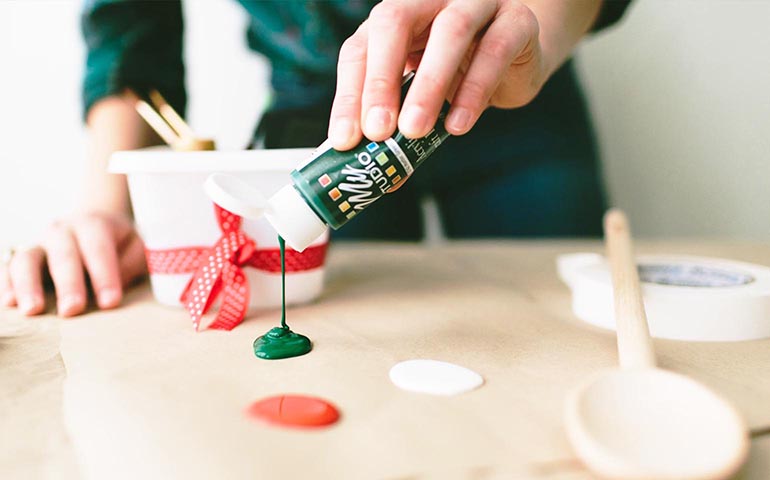
- 2 Pour out the paint you will need. I find it helpful to cover my surface in kraft paper for easy clean up.
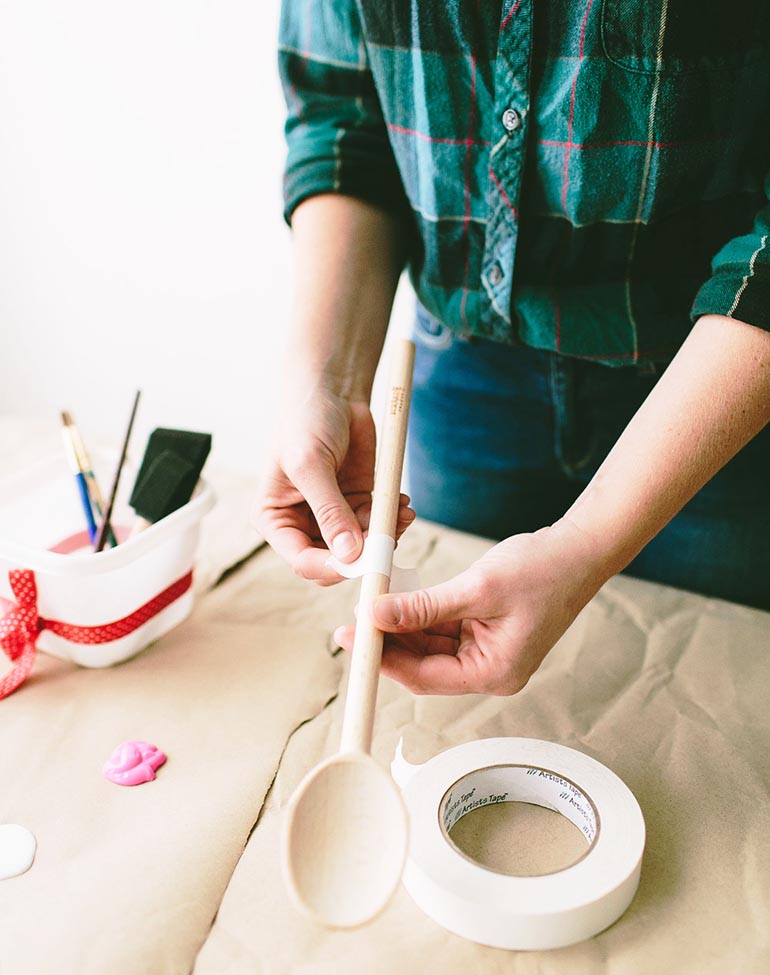
- 3 Using painter’s tape, tape off a section of the handle in a straight line.
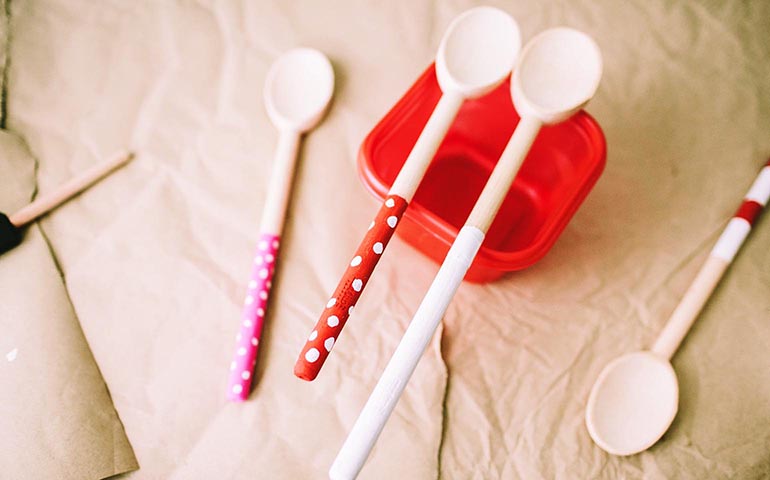
- 4 Paint your base color first. This may take a few coats to get an even color because the wood can be a bit porous. My favorite trick for drying the spoons without smudging or smearing is to place each wet spoon along the rim of an open Ziploc® brand container. This allows the air to circulate all around the wet paint!
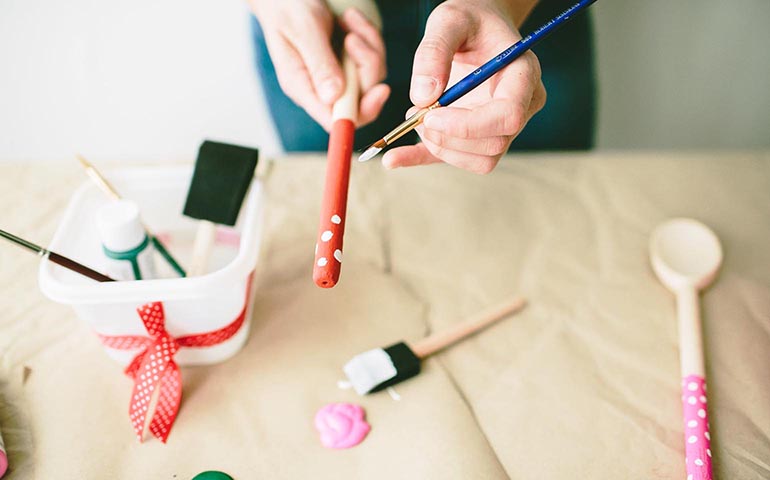
- 5 Using a small brush, paint artwork onto the dried base color. I chose dots because they are quirky and happy!
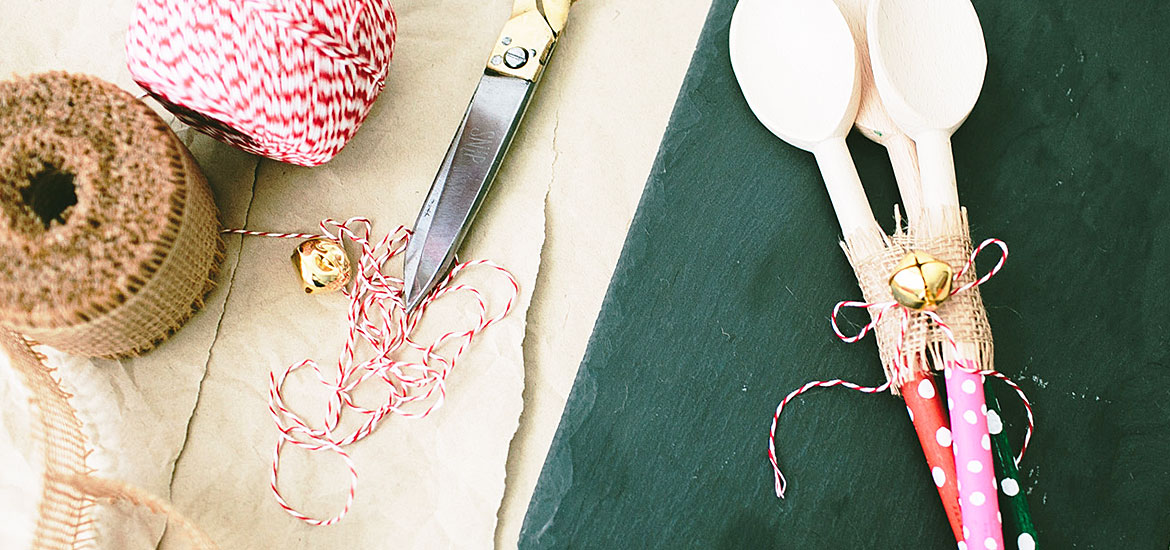
- 6 These spoons make for a great hostess gift, so why not package them with a bit of burlap ribbon, baker’s twine, and a fun gold bell?
- 7 Thread the baker’s twine through the open parts of the burlap ribbon and tie in a bow. Before completing the bow, string on a gold bell for a touch of holiday flair!


SHARE